Mason Jar Salad Wraps Recipe
Sponsored post
Mason Jar Salad Wraps Recipe
Midweek Dinner or Lunch in Under a Minute!
Want to know the secret of getting your kids to eat a particular food?
Tell them that it is yours and they can’t have any! I can almost guarantee that it’ll be the only thing that they can think about eating! At least that’s usually how it works in my house.
A few weeks ago, I started getting a bit savvier about prepping healthy lunches for myself on a Sunday to eat throughout the week. Like most people I suspect, I love to eat healthily – but can sometimes make poor food choices just out of pure laziness. Do I want to stand and chop a salad when my stomach starts rumbling, or do I want to grab a handful of biscuits to dunk in my tea? Sadly, the biscuits were winning that battle more often than not, so I thought I’d have a go at making the Mason jar salads that I have seen all over Pinterest, to store in the fridge throughout the week.
 However, they didn’t quite make it through the week – or even past Tuesday, because as soon as my children caught wind of the fact that Mum had something just for her, they all wanted in on the action. Even my 9 year old, who up until the salad jars appeared in our fridge, and had always vehemently professed to hate salad, now had a burning desire to get his hands on one of the jars and consume the contents. Funny that!
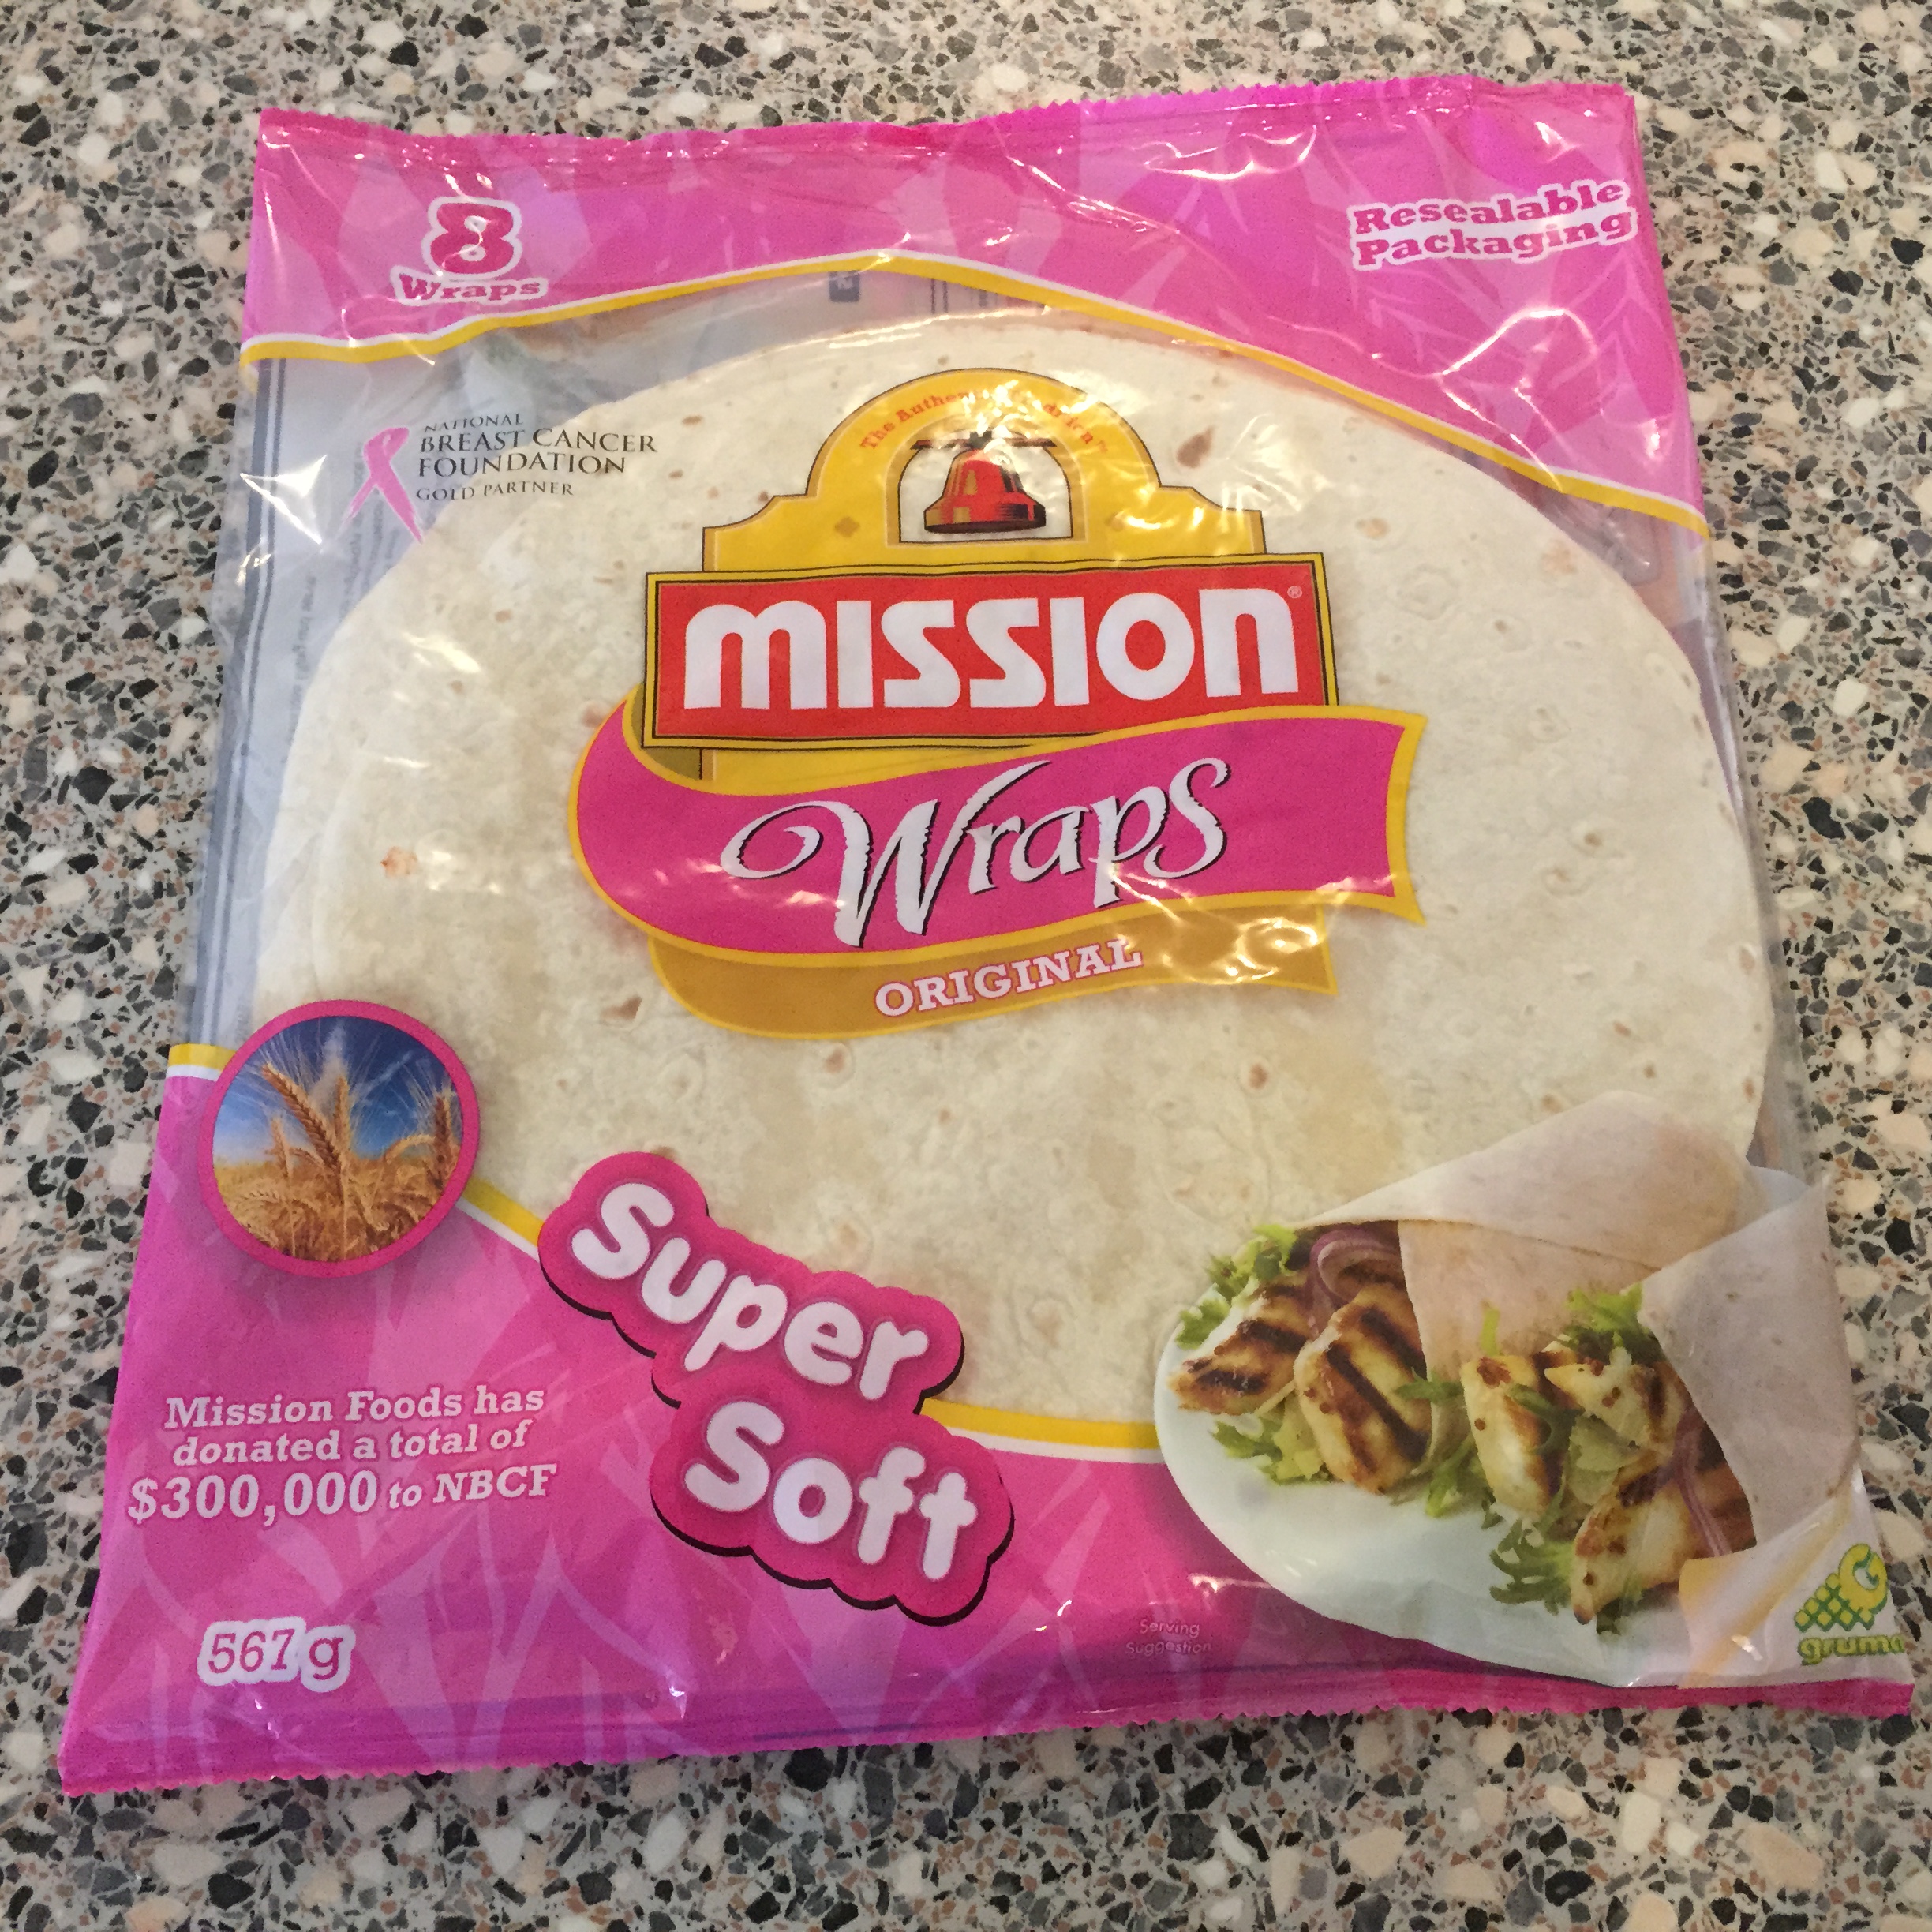
Not being one to pass up the opportunity to get more fruit and veggies into my family, or give myself a night off from the kitchen midweek – I’ve invested in more mason jars. I’ve discovered the convenience of the mason jar salads, combined with the versatility of Mission Foods wraps make an awesome match for meals that everyone will eat.
We tend to spend much more time outdoors during the warmer months, and having salads prepped in jars in the fridge means that we can all come home after cricket training or an after-school swim at the beach, and have a nutritious meal on the table in the time it takes me to whip the wraps out of the pantry and warm them in the microwave for 45 seconds! Genius!
Mission wraps come in resealable packaging so it’s easy to cater to everyone’s taste. My youngest loves the original wraps best, whilst the boys love the spinach and herb wraps. My personal favourite though has to be the sun-dried tomato and chilli flavour! Delicous! Being able to reseal them and store them in the pantry means I’m happy to have more than one packet open at a time – and they are great for lunchboxes too.
The versatility of the wraps paired with these mason salad jars also make them perfect to take for family meals on the go – think weekend picnics in the park, beachside BBQ’s, even impromptu play-dates with friends. (As wonderful as children are – they do insist on being fed regularly, (ha!) which either means planning ahead or spending money on takeaway. Since the later tends to be far less nutritious and much more expensive, I prefer to pack food to take along with us when possible. That way we don’t have to cut our fun in the sun short due to rumbling tummies!
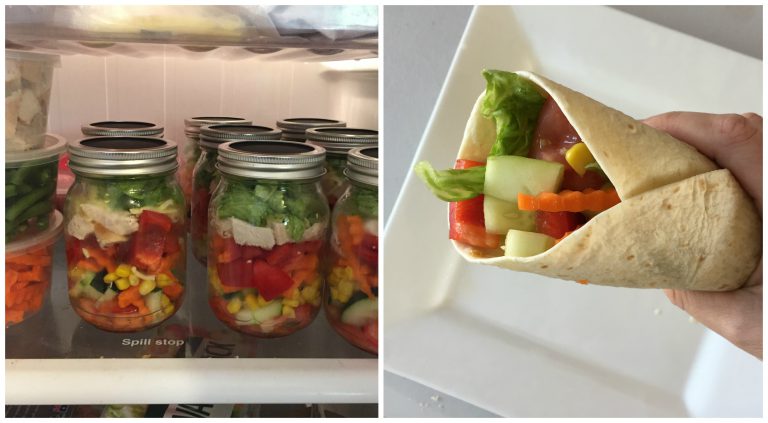
How to Layer Your Mason Jar Salad
Believe it or not, the order in which you layer your salad in the Mason jar is extremely important for keeping it fresh and crisp and not soggy and limp. After some research online and some trial and error of my own this is the layering sequence that I find works best.
Step 1: The salad dressing/vinaigrette always goes on the bottom!
Step 2: Add your hearty (non-absorbent) veggies e.g. tomatoes, cucumber, carrot, capsicum. Personally I like to start with tomatoes, as I love how they taste after being marinated in the vinaigrette!
Step 3: If you are using pasta, or couscous, or quinoa or some other type of grain add it next. You’ll see that I haven’t used any of these in the example above – but I try to use different combinations each week to keep everyone’s interest up.
Step 4: Add your meat/seafood or protein e.g. chicken, tuna, tofu, falafel etc.
Step 5: Add you favourite cheese next – e.g. grated cheddar, crumbled feta, etc.
Step 6: Your leafy greens go at the top of your jar.
Step 7: Secure the lids and place in the fridge. Congratulations! You’ve just prepared the perfect filling for your wrap – ready at a moments notice!
N.B My salads don’t usually last in the fridge longer than 5 days before being eaten the children or I – but they are still as fresh on a Friday as they were on the Sunday when I prepared them.

Mason Salad Jar Wraps
Step 1: Remove the Mission Food wraps from the packaging, and place on a plate in the microwave. Heat on full power for 45 seconds. This makes them pliable and easy to roll.
Step 2: Take Mason jar salads out of the fridge and shake to mix the vinaigrette over the salad ingredients.

Step 3: Empty half of the salad into the warm wrap, and roll it up. My kids prefer to empty the salad and roll the super soft wrap themselves. It’s part of the fun!
Step 4: Enjoy!
Disclosure: This post is sponsored by Mission Food Australia. However, all thoughts and opinions expressed here are my own.


Jolene
Jolene enjoys writing, sharing and connecting with other like-minded women online – it also gives her the perfect excuse to ignore Mount-Washmore until it threatens to bury her family in an avalanche of Skylander T-shirts and Frozen Pyjama pants. (No one ever knows where the matching top is!) Likes: Reading, cooking, sketching, dancing (preferably with a Sav Blanc in one hand), social media, and sitting down on a toilet seat that one of her children hasn’t dripped, splashed or sprayed on. Dislikes: Writing pretentious crap about herself in online bio’s and refereeing arguments amongst her offspring.