Jo Baz – Straight Out Review & Giveaway

You’re probably all aware by now that I’m on the eternal path to achieving straight, frizz free hair. Most recently I blogged about Agadir Argan spray which I absolutely adore!
So when I was approached to review an at home straightening system by Jo Baz how could I say no. I want to make it clear that this is not a paid review. I was given the product for free and all opinions are honest and my own.
The product states that you should be able to use it easily at home on your own. However, I chose to enlist the help of hair stylist extraordinaire Shaun Monro from Colour by Numbers in Richmond. Without his help this procedure surely would’ve taken me double the time.
Okay- lets begin with some background info on my hair. It’s quite thick and course. Pretty long – to my bra strap- with a fringe. It’s dry and coloured with a tendency for split ends. In other words – a hot mess if I don’t treat it right.

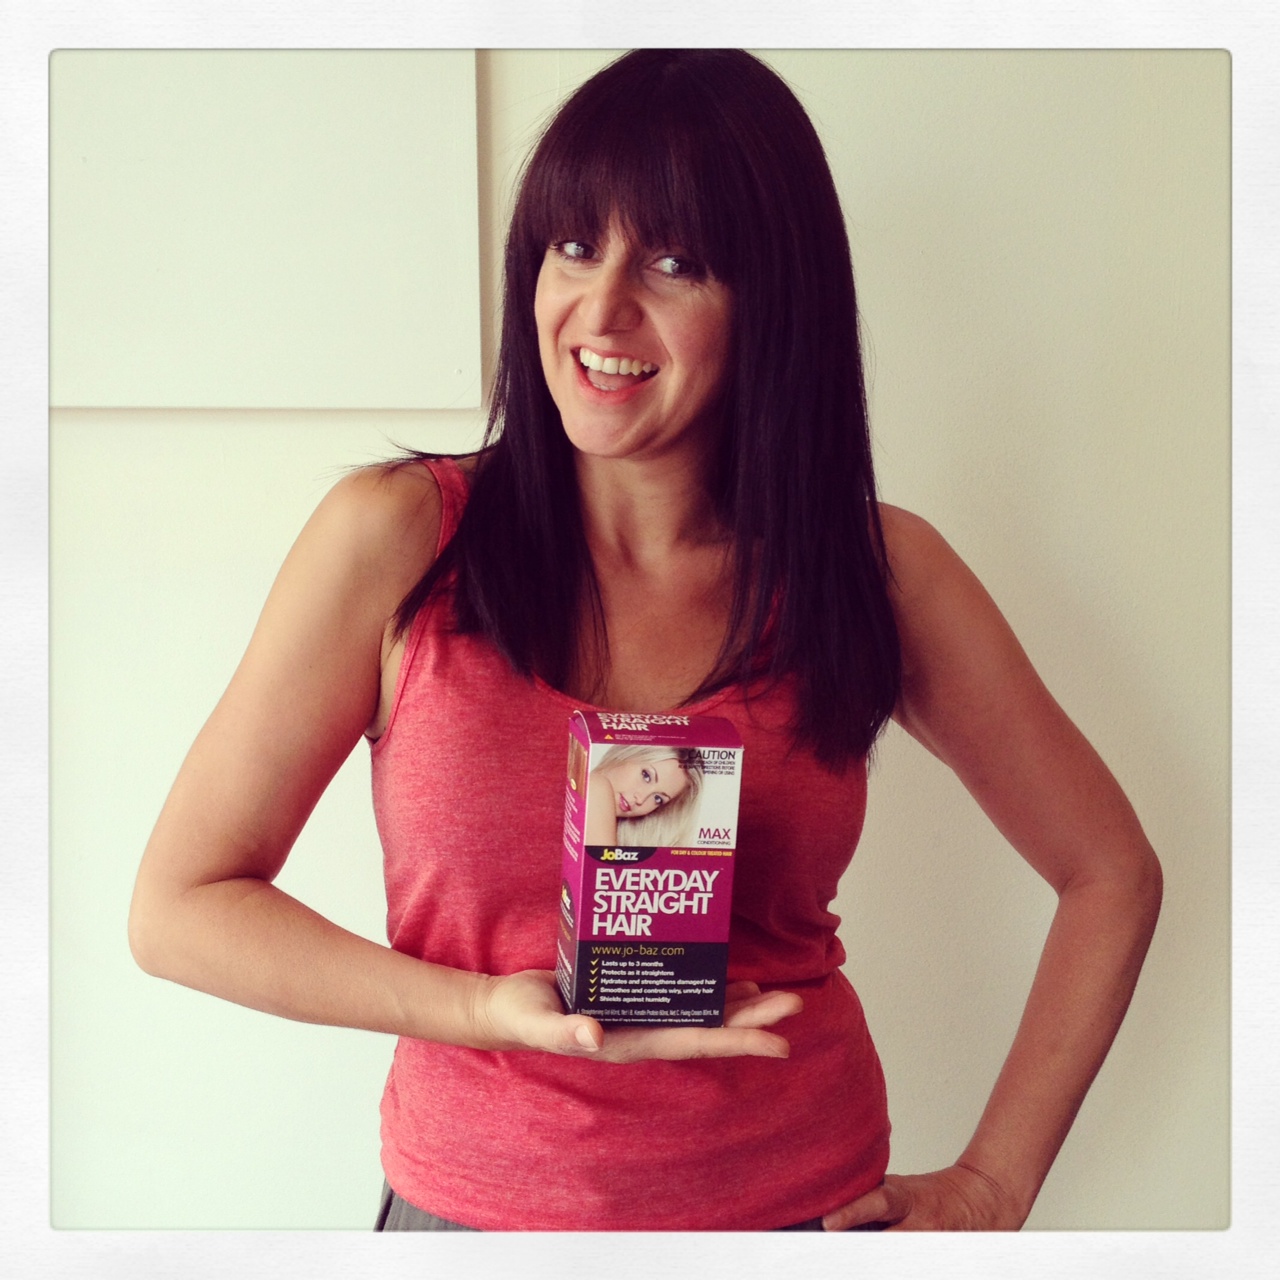
The product I’m reviewing is by Jo Baz and it’s called Everyday Straight Hair.
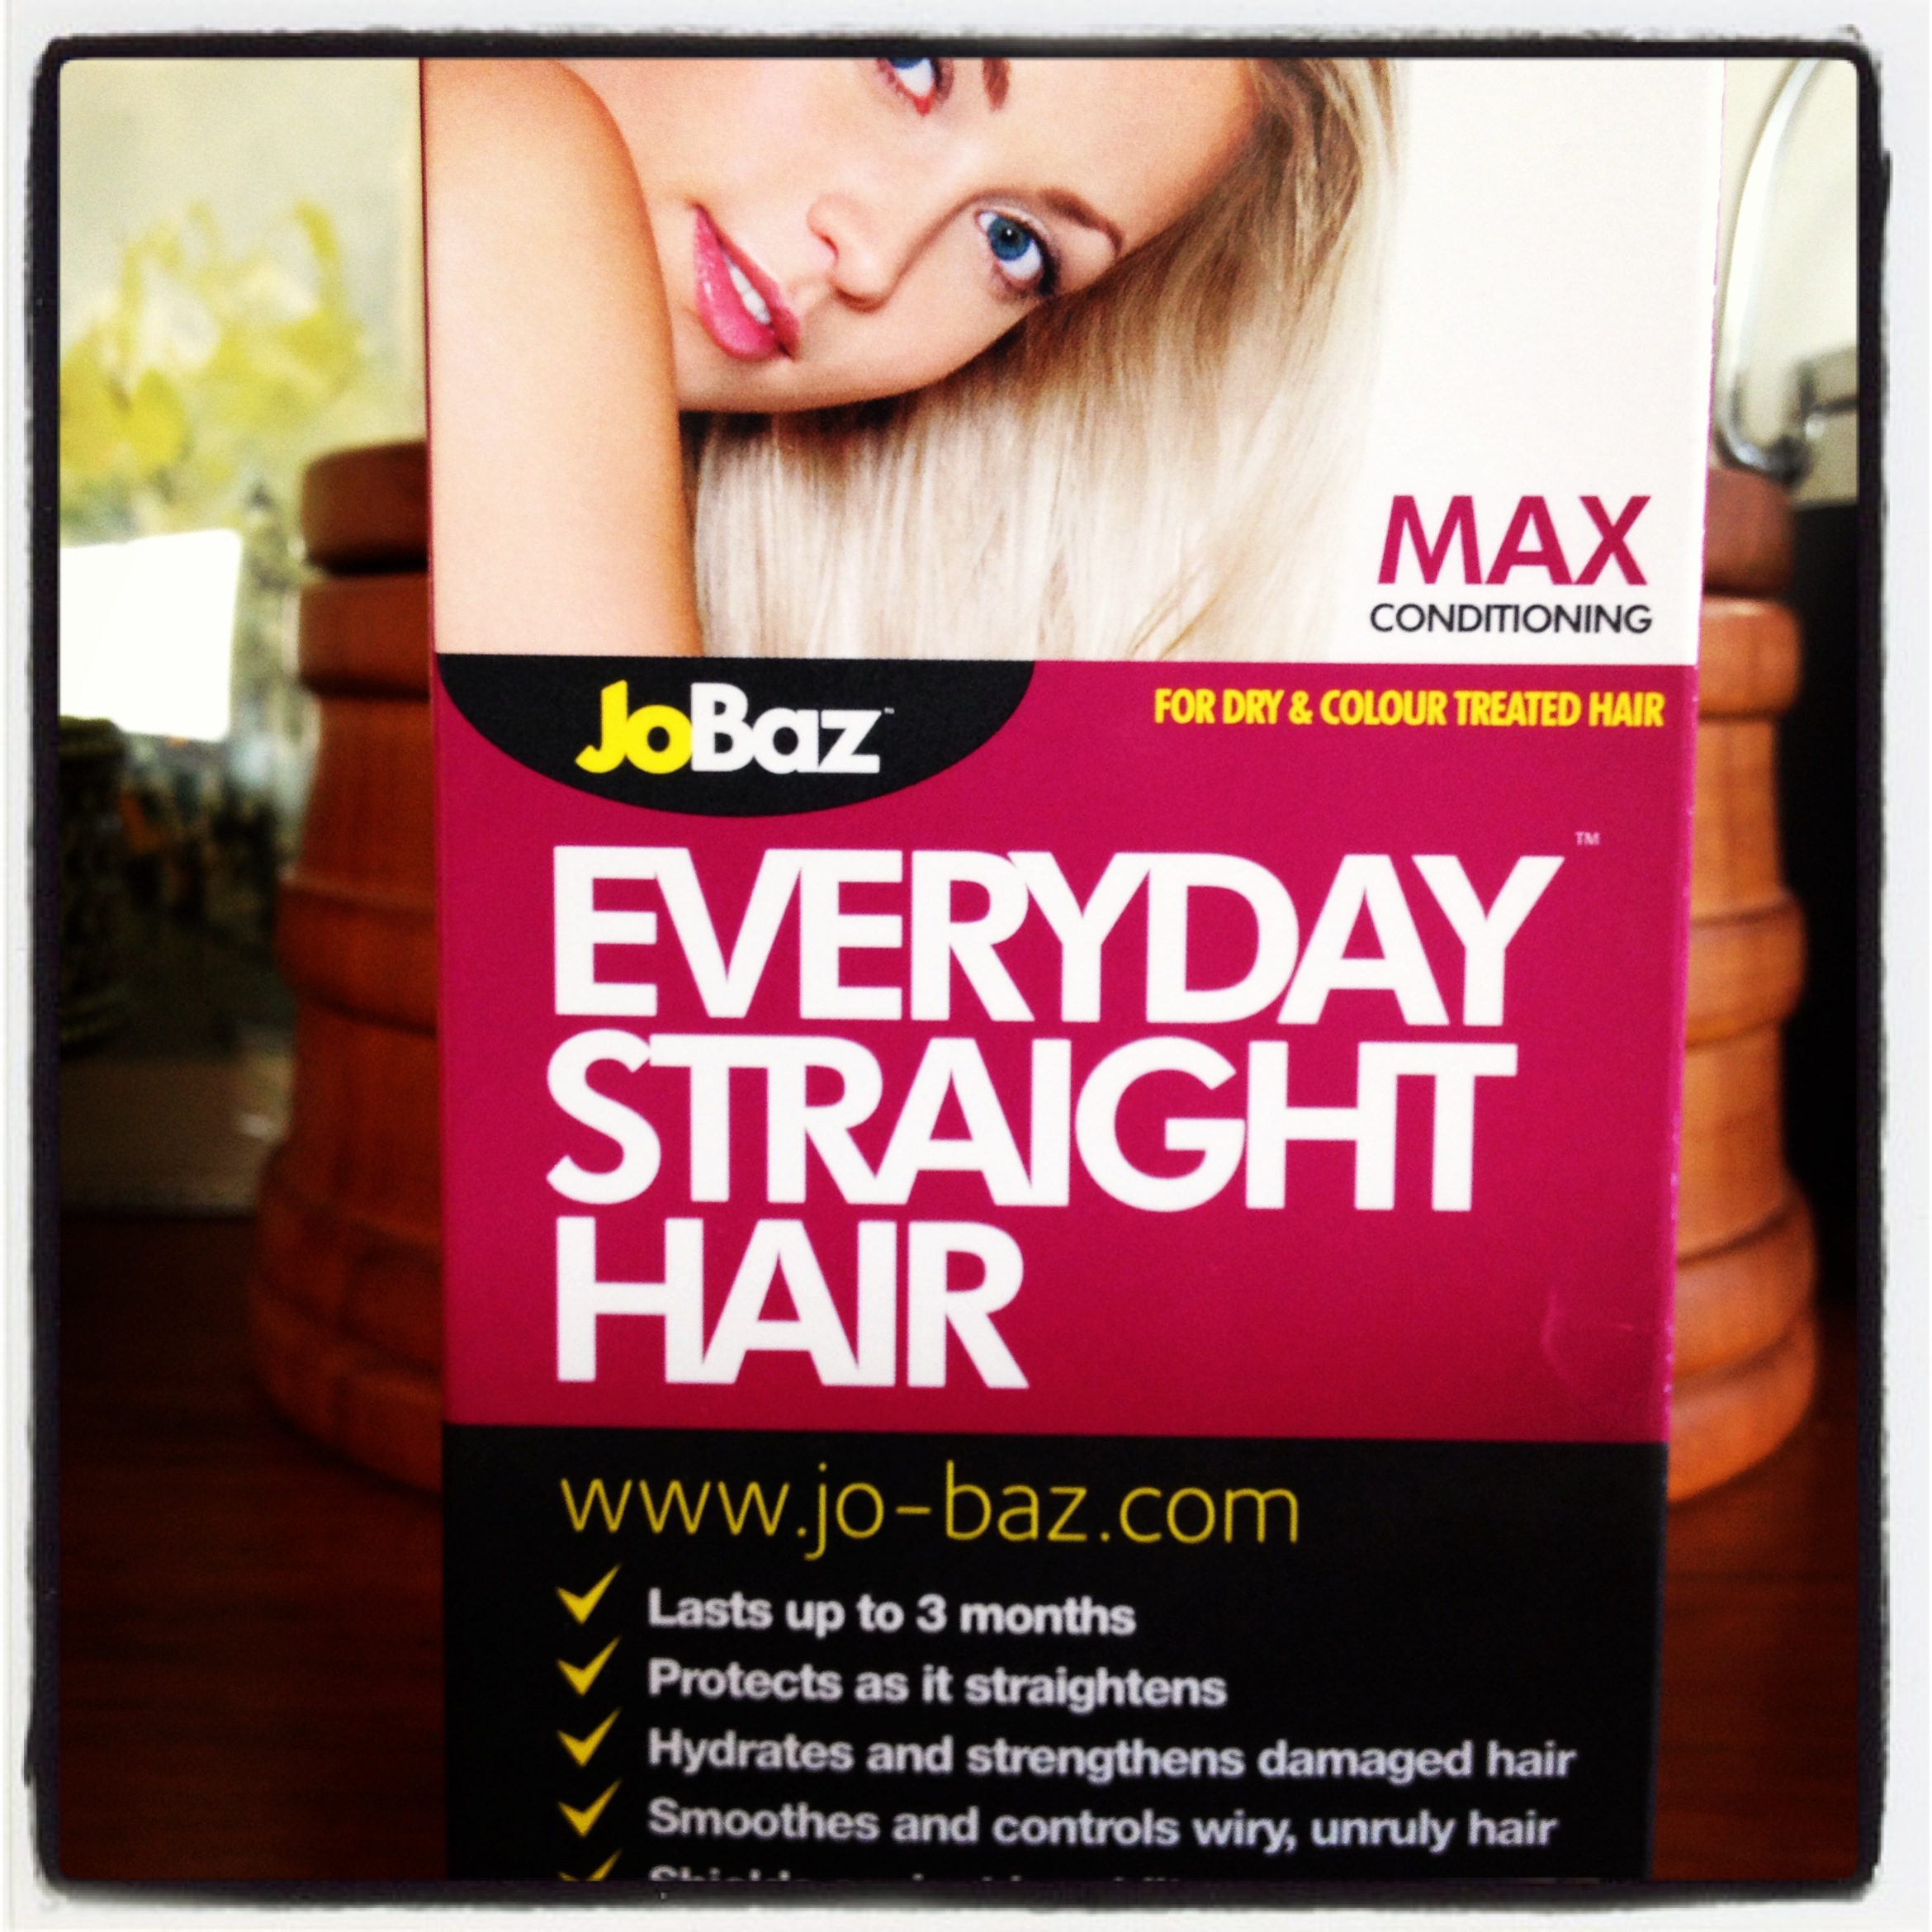
Jo Baz – Everyday Straight Hair
It has three steps to it:
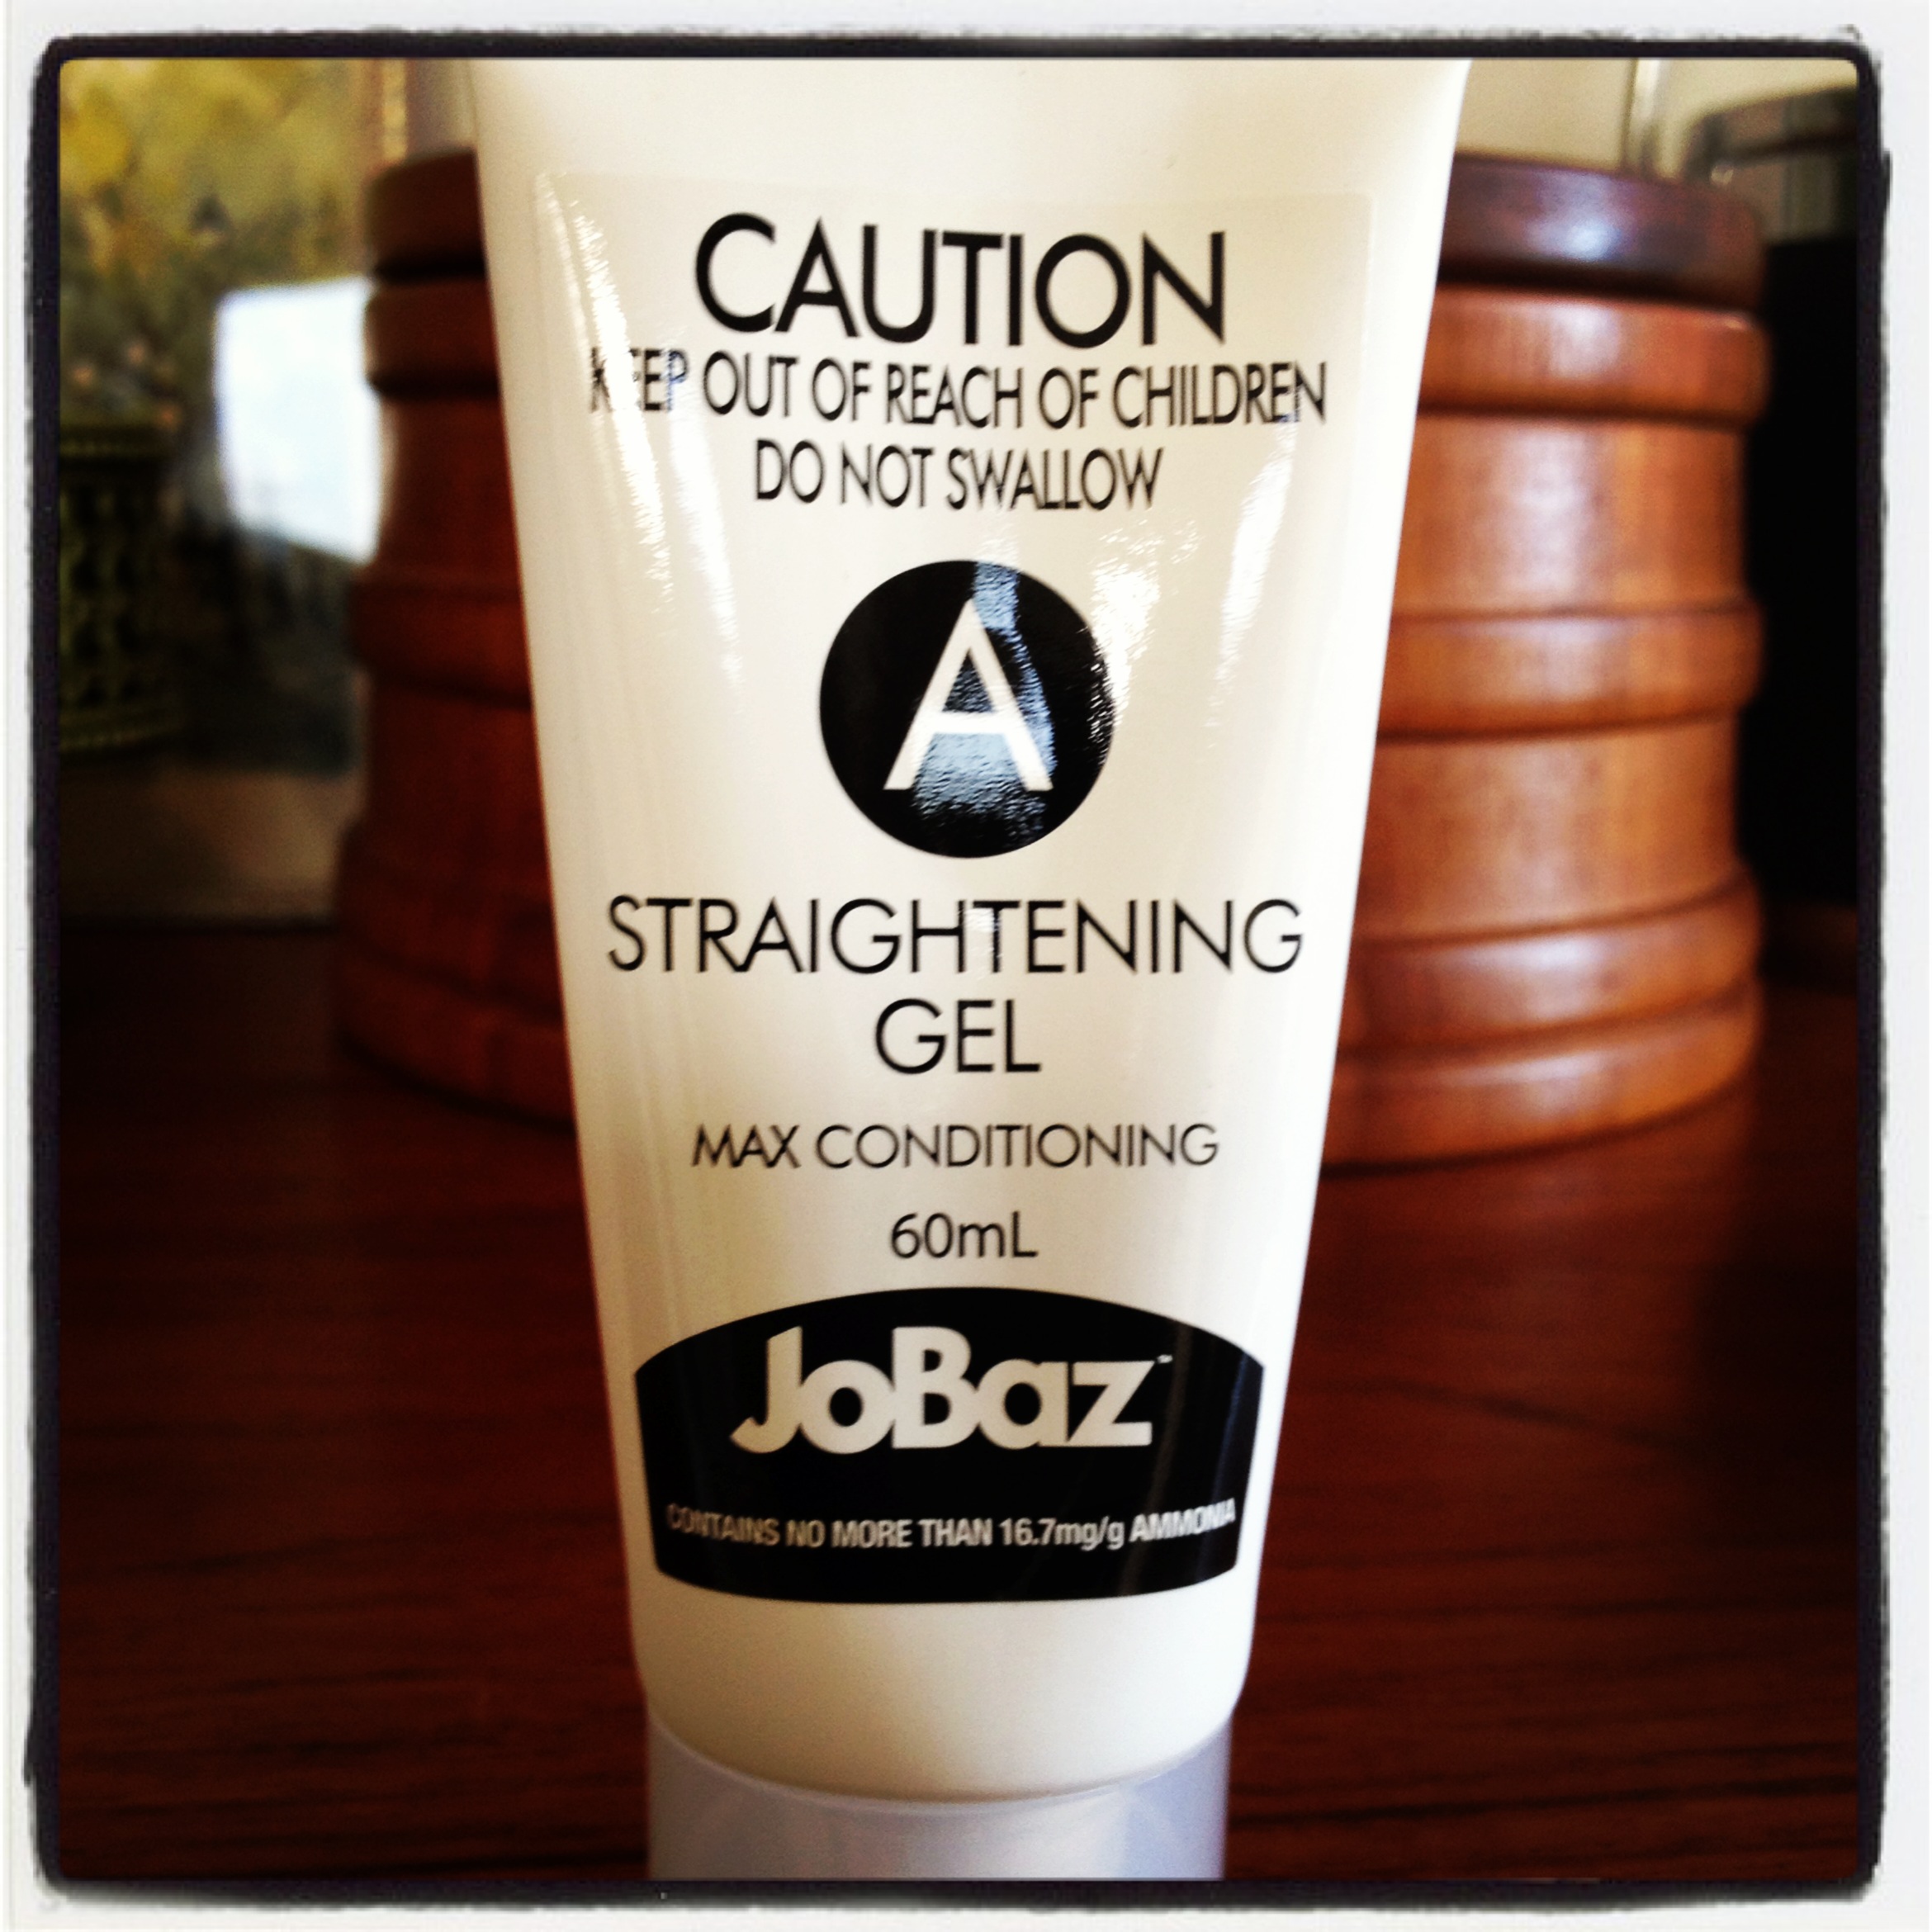
Step A- Straightening Gel
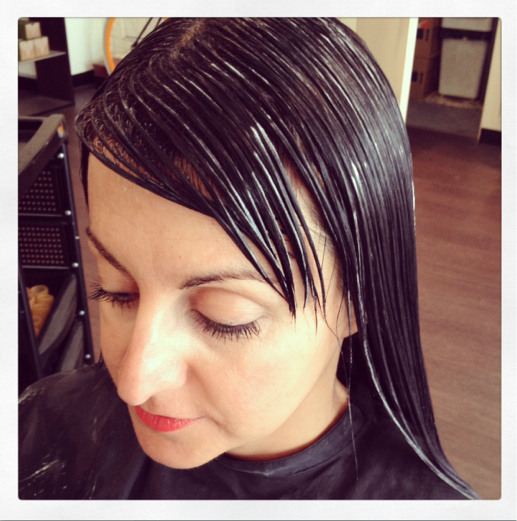
This step involves sectioning the hair into four parts and applying the gel making sure every strand is evenly covered. You have to work fast while doing this as the gel activates quickly. I must add here that the smell of the gel is quite overpowering. Make sure you’re in a well ventilated space or in the mood to get high.
What is happening at this stage:
“The Straightening Gel is breaking the bonds inside your hair and it’s very important you try to keep each section as smooth, sleek and straight as possible as the hair bonds will break in this same pattern.”
Here’s what this step looks like:
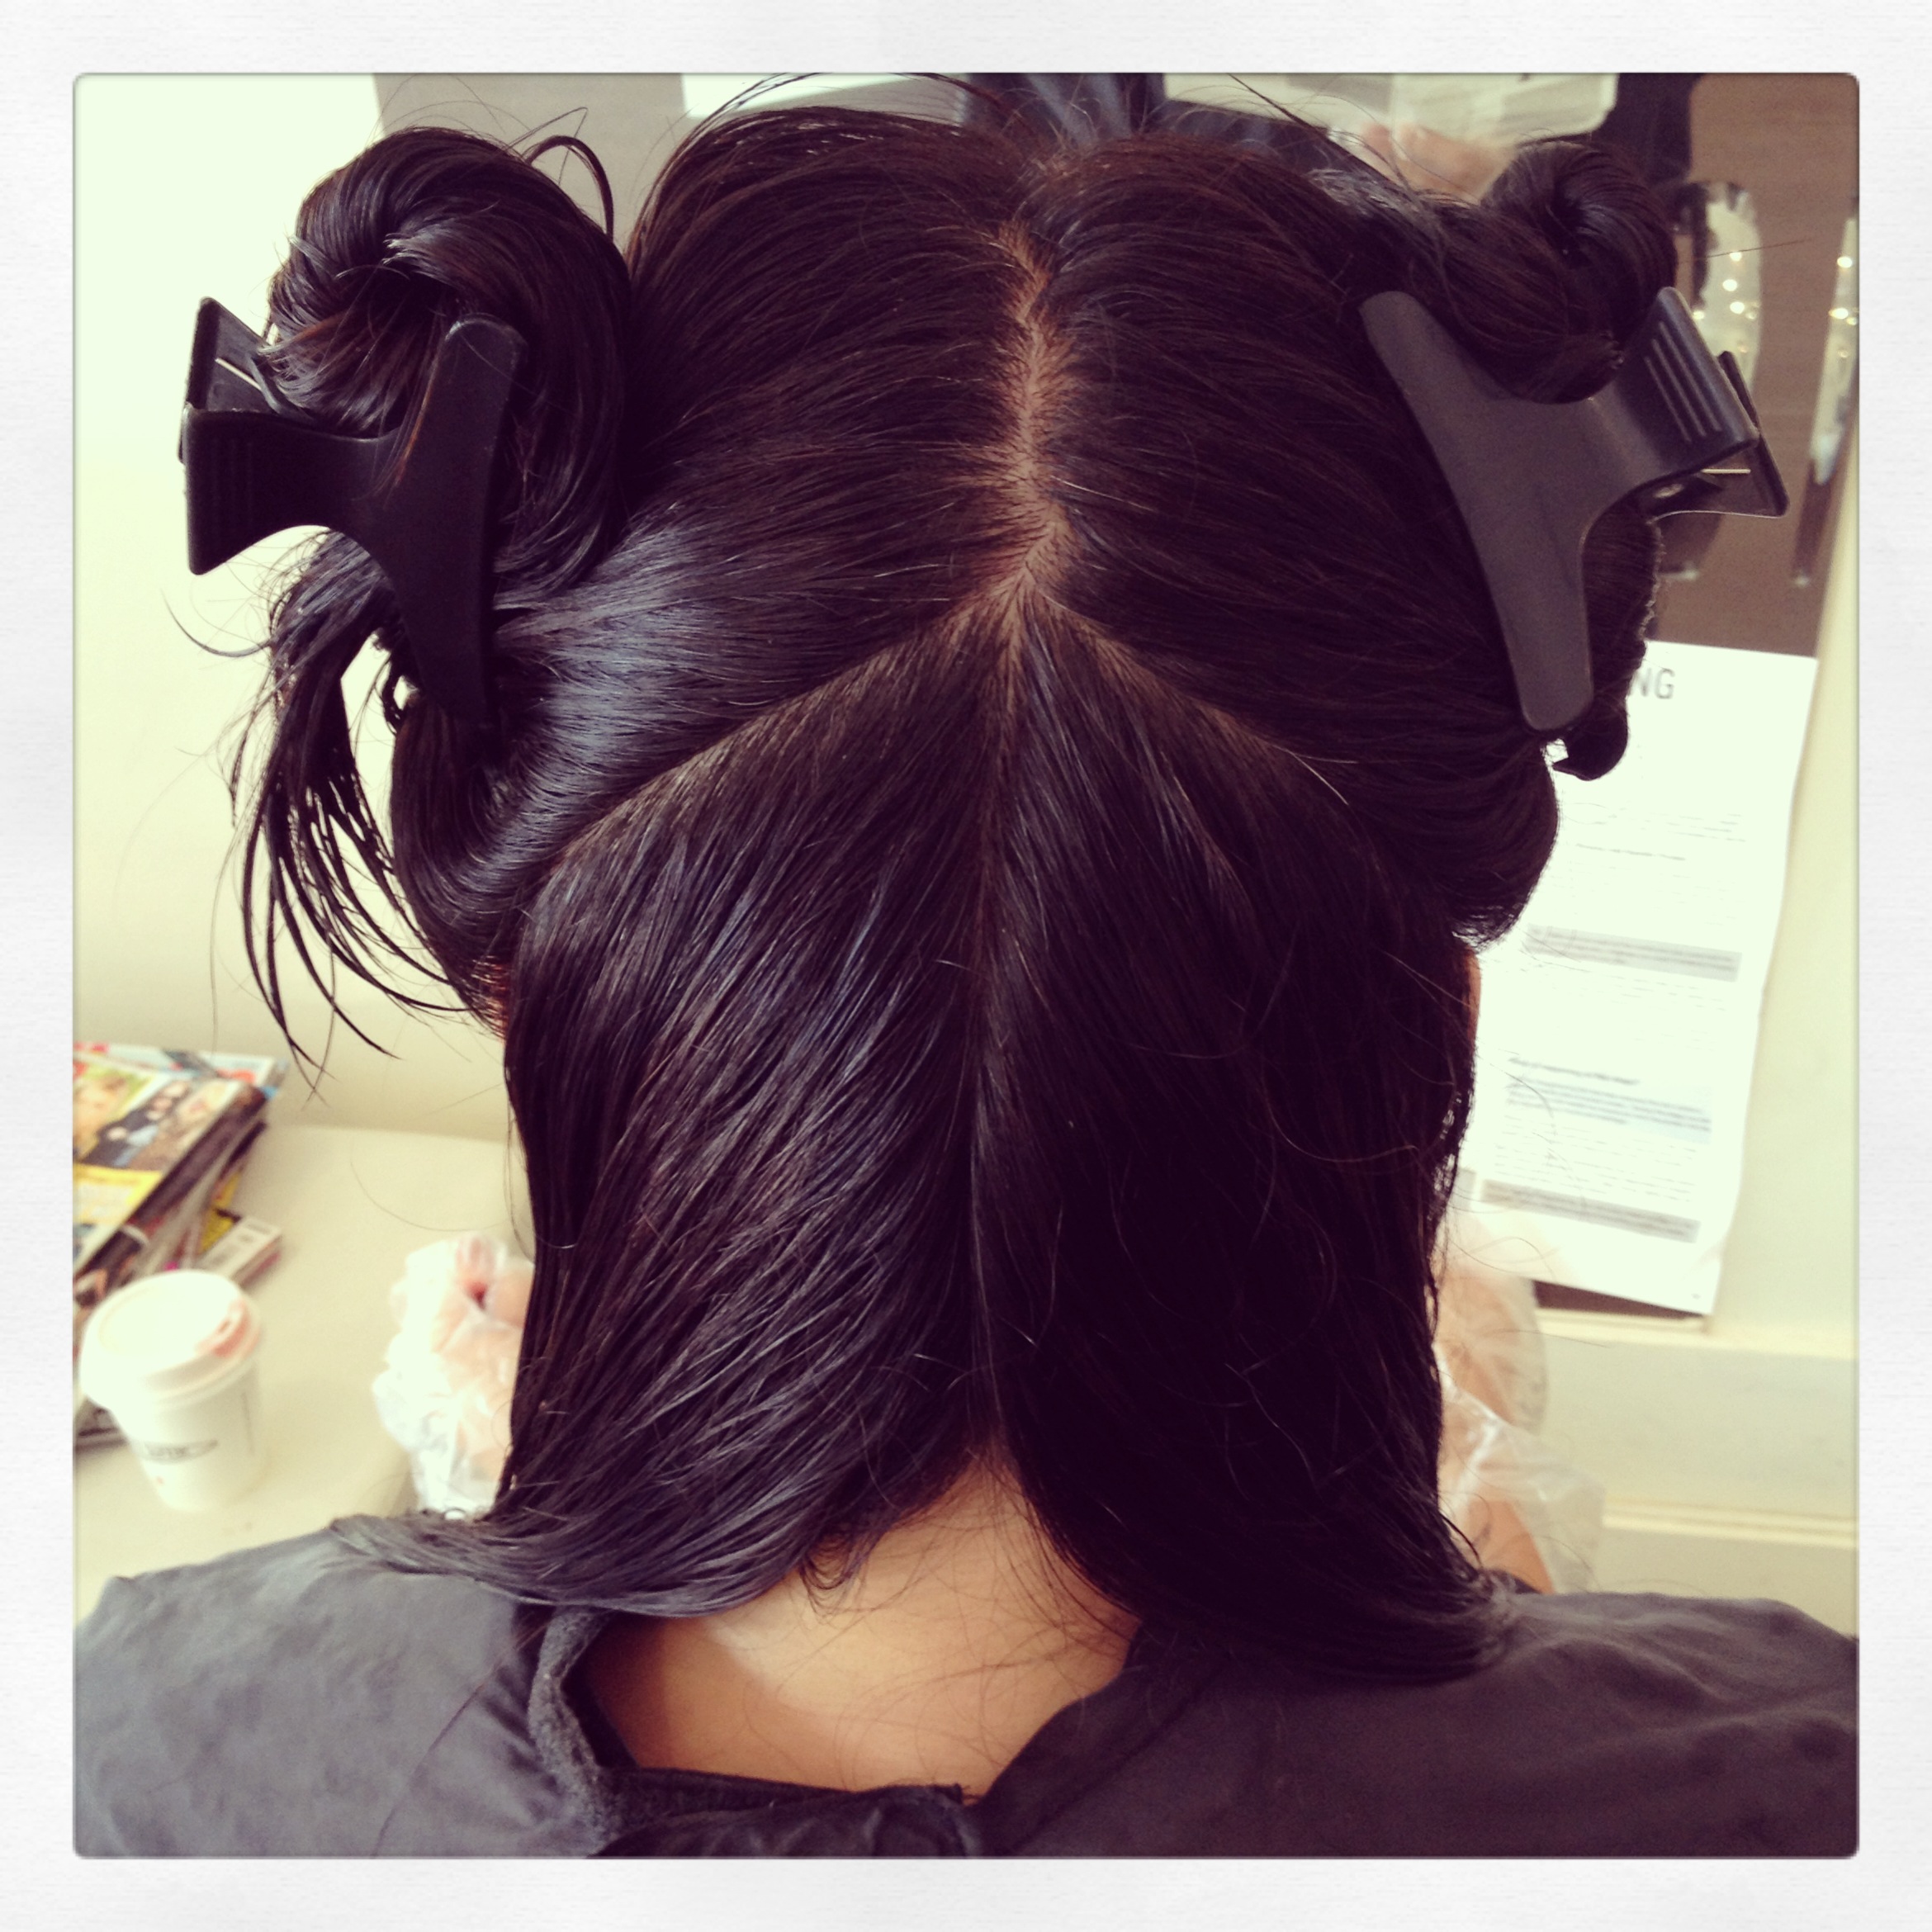
Apply the gel evenly making sure you lay the hair as straight as you can:
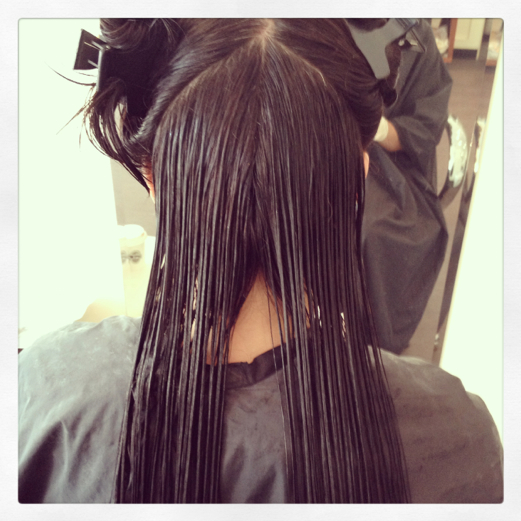
Once the specified time for your hair type has lapsed (mine was 20 minutes) then rinse it thoroughly and prepare for step B:
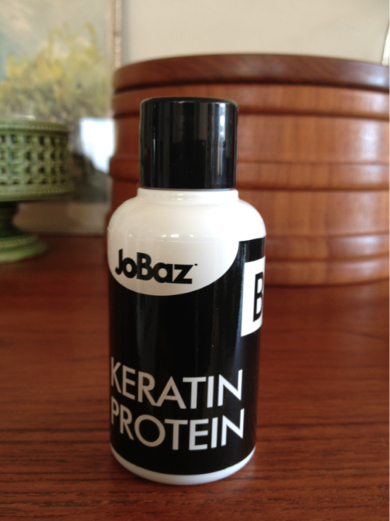
Just like step A you need to apply the Keratin Protein into the hair strand by strand.
What is happening at this stage?
“After the Straightening gel has been removed the hair cuticle is open and readily able to accept protein. During this stage you are filling your hair with keratin so ensure you work the protein into your hair well with thumb and forefinger.”

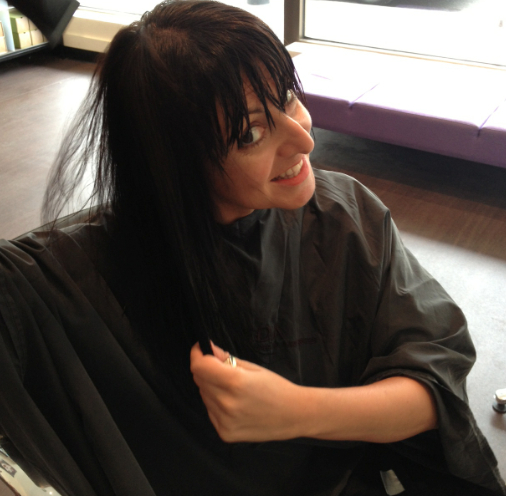
The next stage is the most time consuming. After you have rinsed the keratin from your hair you must dry it off and straighten it with irons.
“The ironing stage gives the hair its permanent sleek result. The key to perfect straight results is taking small panels of hair which you can see your fingers through.”
Look! I’m blow drying!
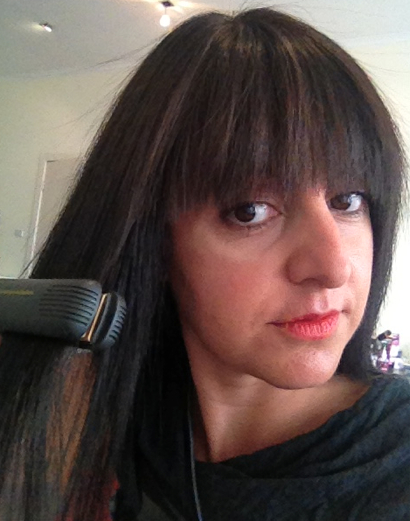
Sorry about the above photo. I had been straightening my hair for over an hour!! Feel free to insert your own caption.
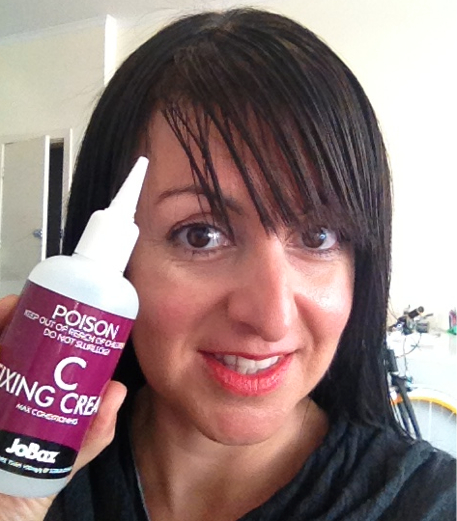
Step C- Fixing creme.
Once you have straightened your hair with the irons you must then apply the fixing creme evenly. Once it’s applied comb it through to the ends. Applying the fixing creme will re-attach all those broken bonds in the hair back into the new straight pattern you just created.
Fixing creme applied.
Final stage is to rinse, dry and straighten again for the last time. Voila…
Front.
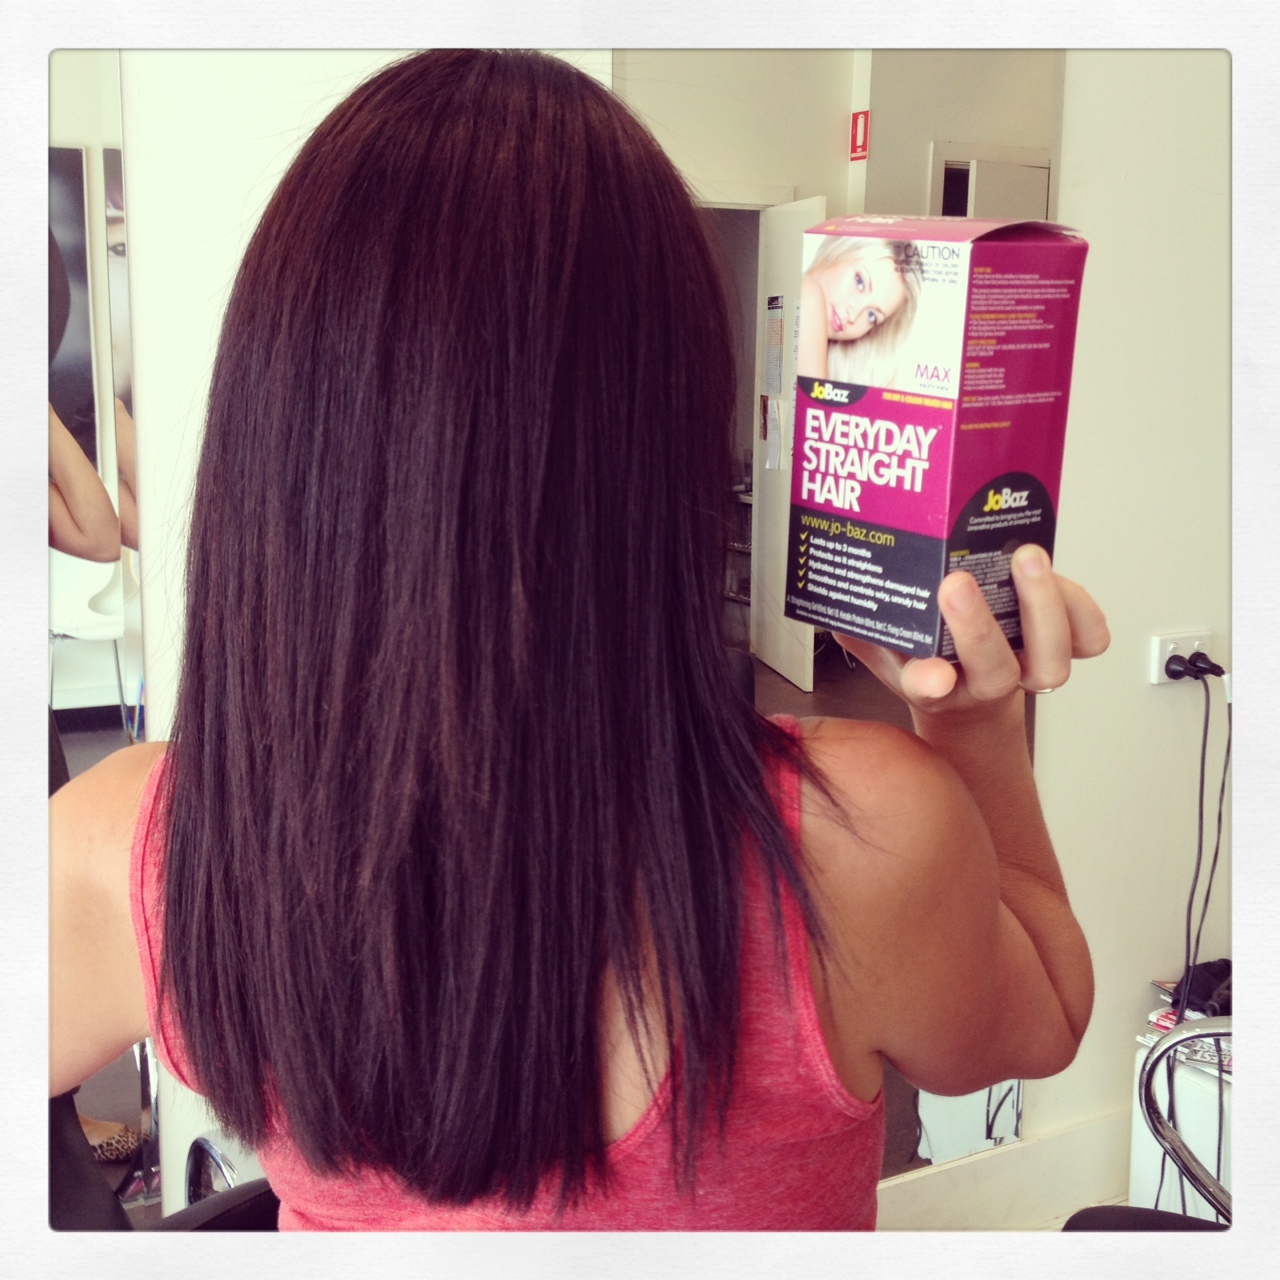
and back.
Phew! That whole process took me (with the help of Shaun) roughly 3 hours. I have no doubt it would’ve taken much longer at home without all the amenities of a salon -ie. gossip magazines and general gossip.
The verdict: After the Jo Baz treatment my hair did seem much straighter and without all the kinks I normally get. The biggest change I’ve found is that waking up in the mornings my hair is now as straight as it was the night before. Previously I would often wake up with Shirley Temple curls along the hair line- especially underneath. No more- they are now straight. The first time I washed my hair (after 3 days) I found it much easier to blow dry and straighten. In fact, my GHD time was cut significantly. However…my hair does feel much drier than it did before. As a result I find I need to use leave in treatments every other day. Also it has lightened the colour of my hair quite a lot – which in all honesty I don’t really mind. In fact it seems to have neutralised the red tones I had! One thing I regret doing is applying the product to my fringe. I must have not kept it straight enough during the process as now I can’t seem to manipulate it as well as I could before. So if you have a fringe, I strongly suggest you leave it alone.
Would I use it again? Probably not until my hair was in peak condition. Having said that though, I do believe the product delivered exactly what it promised – straight hair that removes wave and bulk. It certainly did that. I would definitely recommend it to anyone who is tired of spending hours drying and straightening their frizzy, unruly hair!
In fact I have an Everyday Straight Hair pack to give away to one of my lucky readers. Just tell me why you desperately need to try this product. The most creative answer wins. Good luck boof heads! X


Jolene
Jolene enjoys writing, sharing and connecting with other like-minded women online – it also gives her the perfect excuse to ignore Mount-Washmore until it threatens to bury her family in an avalanche of Skylander T-shirts and Frozen Pyjama pants. (No one ever knows where the matching top is!) Likes: Reading, cooking, sketching, dancing (preferably with a Sav Blanc in one hand), social media, and sitting down on a toilet seat that one of her children hasn’t dripped, splashed or sprayed on. Dislikes: Writing pretentious crap about herself in online bio’s and refereeing arguments amongst her offspring.