The Busy Mums 6 Step Guide to Beautiful, Healthy Nails
Sponsored post
Housework has never been a favourite pastime of mine, I admit, least of all for the negative effect it seems to have on my nails. Nails that have been soaking in dishwater tend to be soft and break easily, and I don’t seem capable of keeping nail polish on for longer than 20 minutes before it looks chipped and messy.
Whilst a spot or a blemish is easily covered with make-up, I find it hard to hide untidy, broken nails. After hearing so many horror stories from girlfriends about damaged nail beds, I’m not game to try acrylics, so my only real option is to take better care of my own.
I’m not generally one for spending a great deal of time (or money) pampering myself. Between working, raising 3 children and attempting to keep the house tidy (and often failing miserably), I’m just too busy, and I suspect many of you are too. For this reason I have developed my own quick and easy nail-care routine.
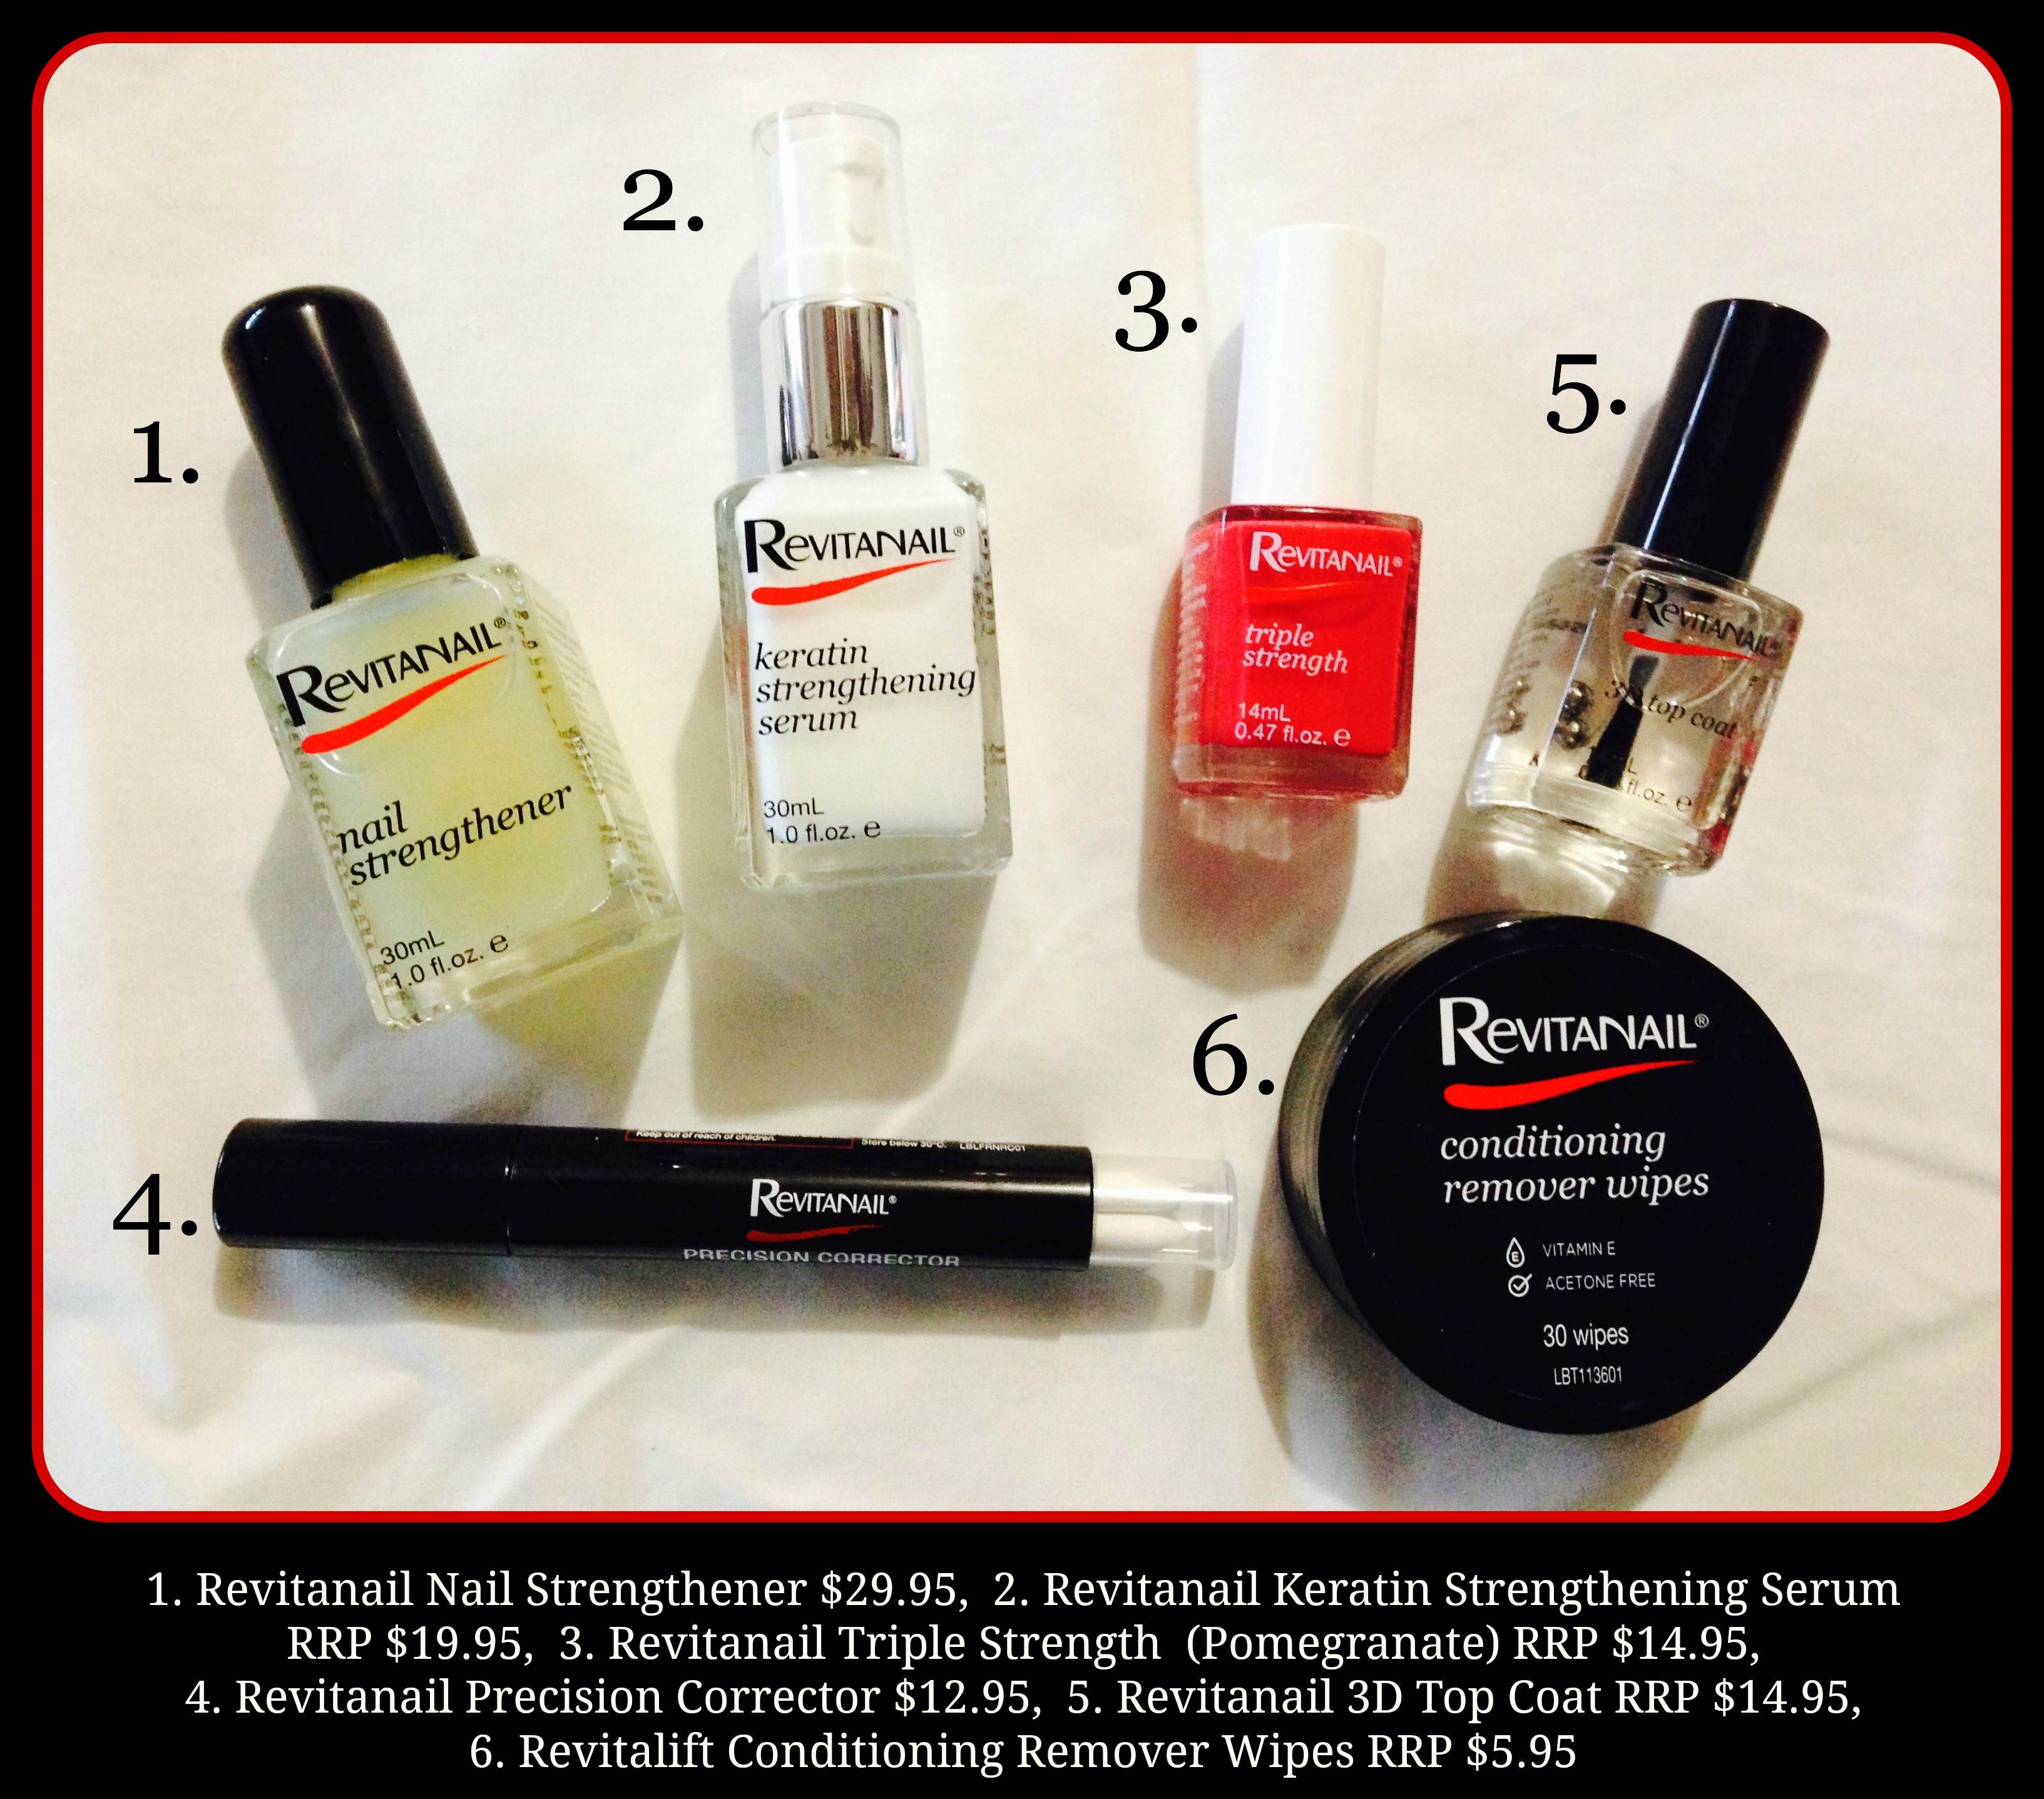
Revitanail kindly gifted me their entire range – which is very substantial. I have had lots of fun using and reviewing them, but I’d like to share my top picks that’ll have your nails looking fabulous and healthy in no time.
The 6 Step Guide to Beautiful, Healthy Nails
Step One
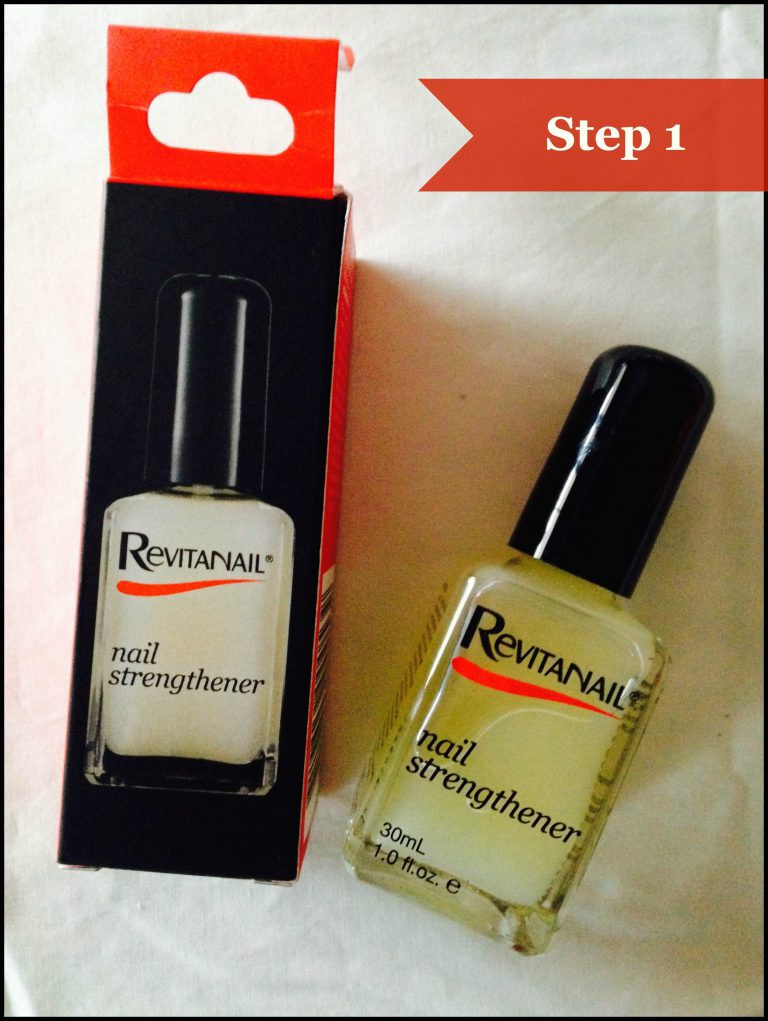
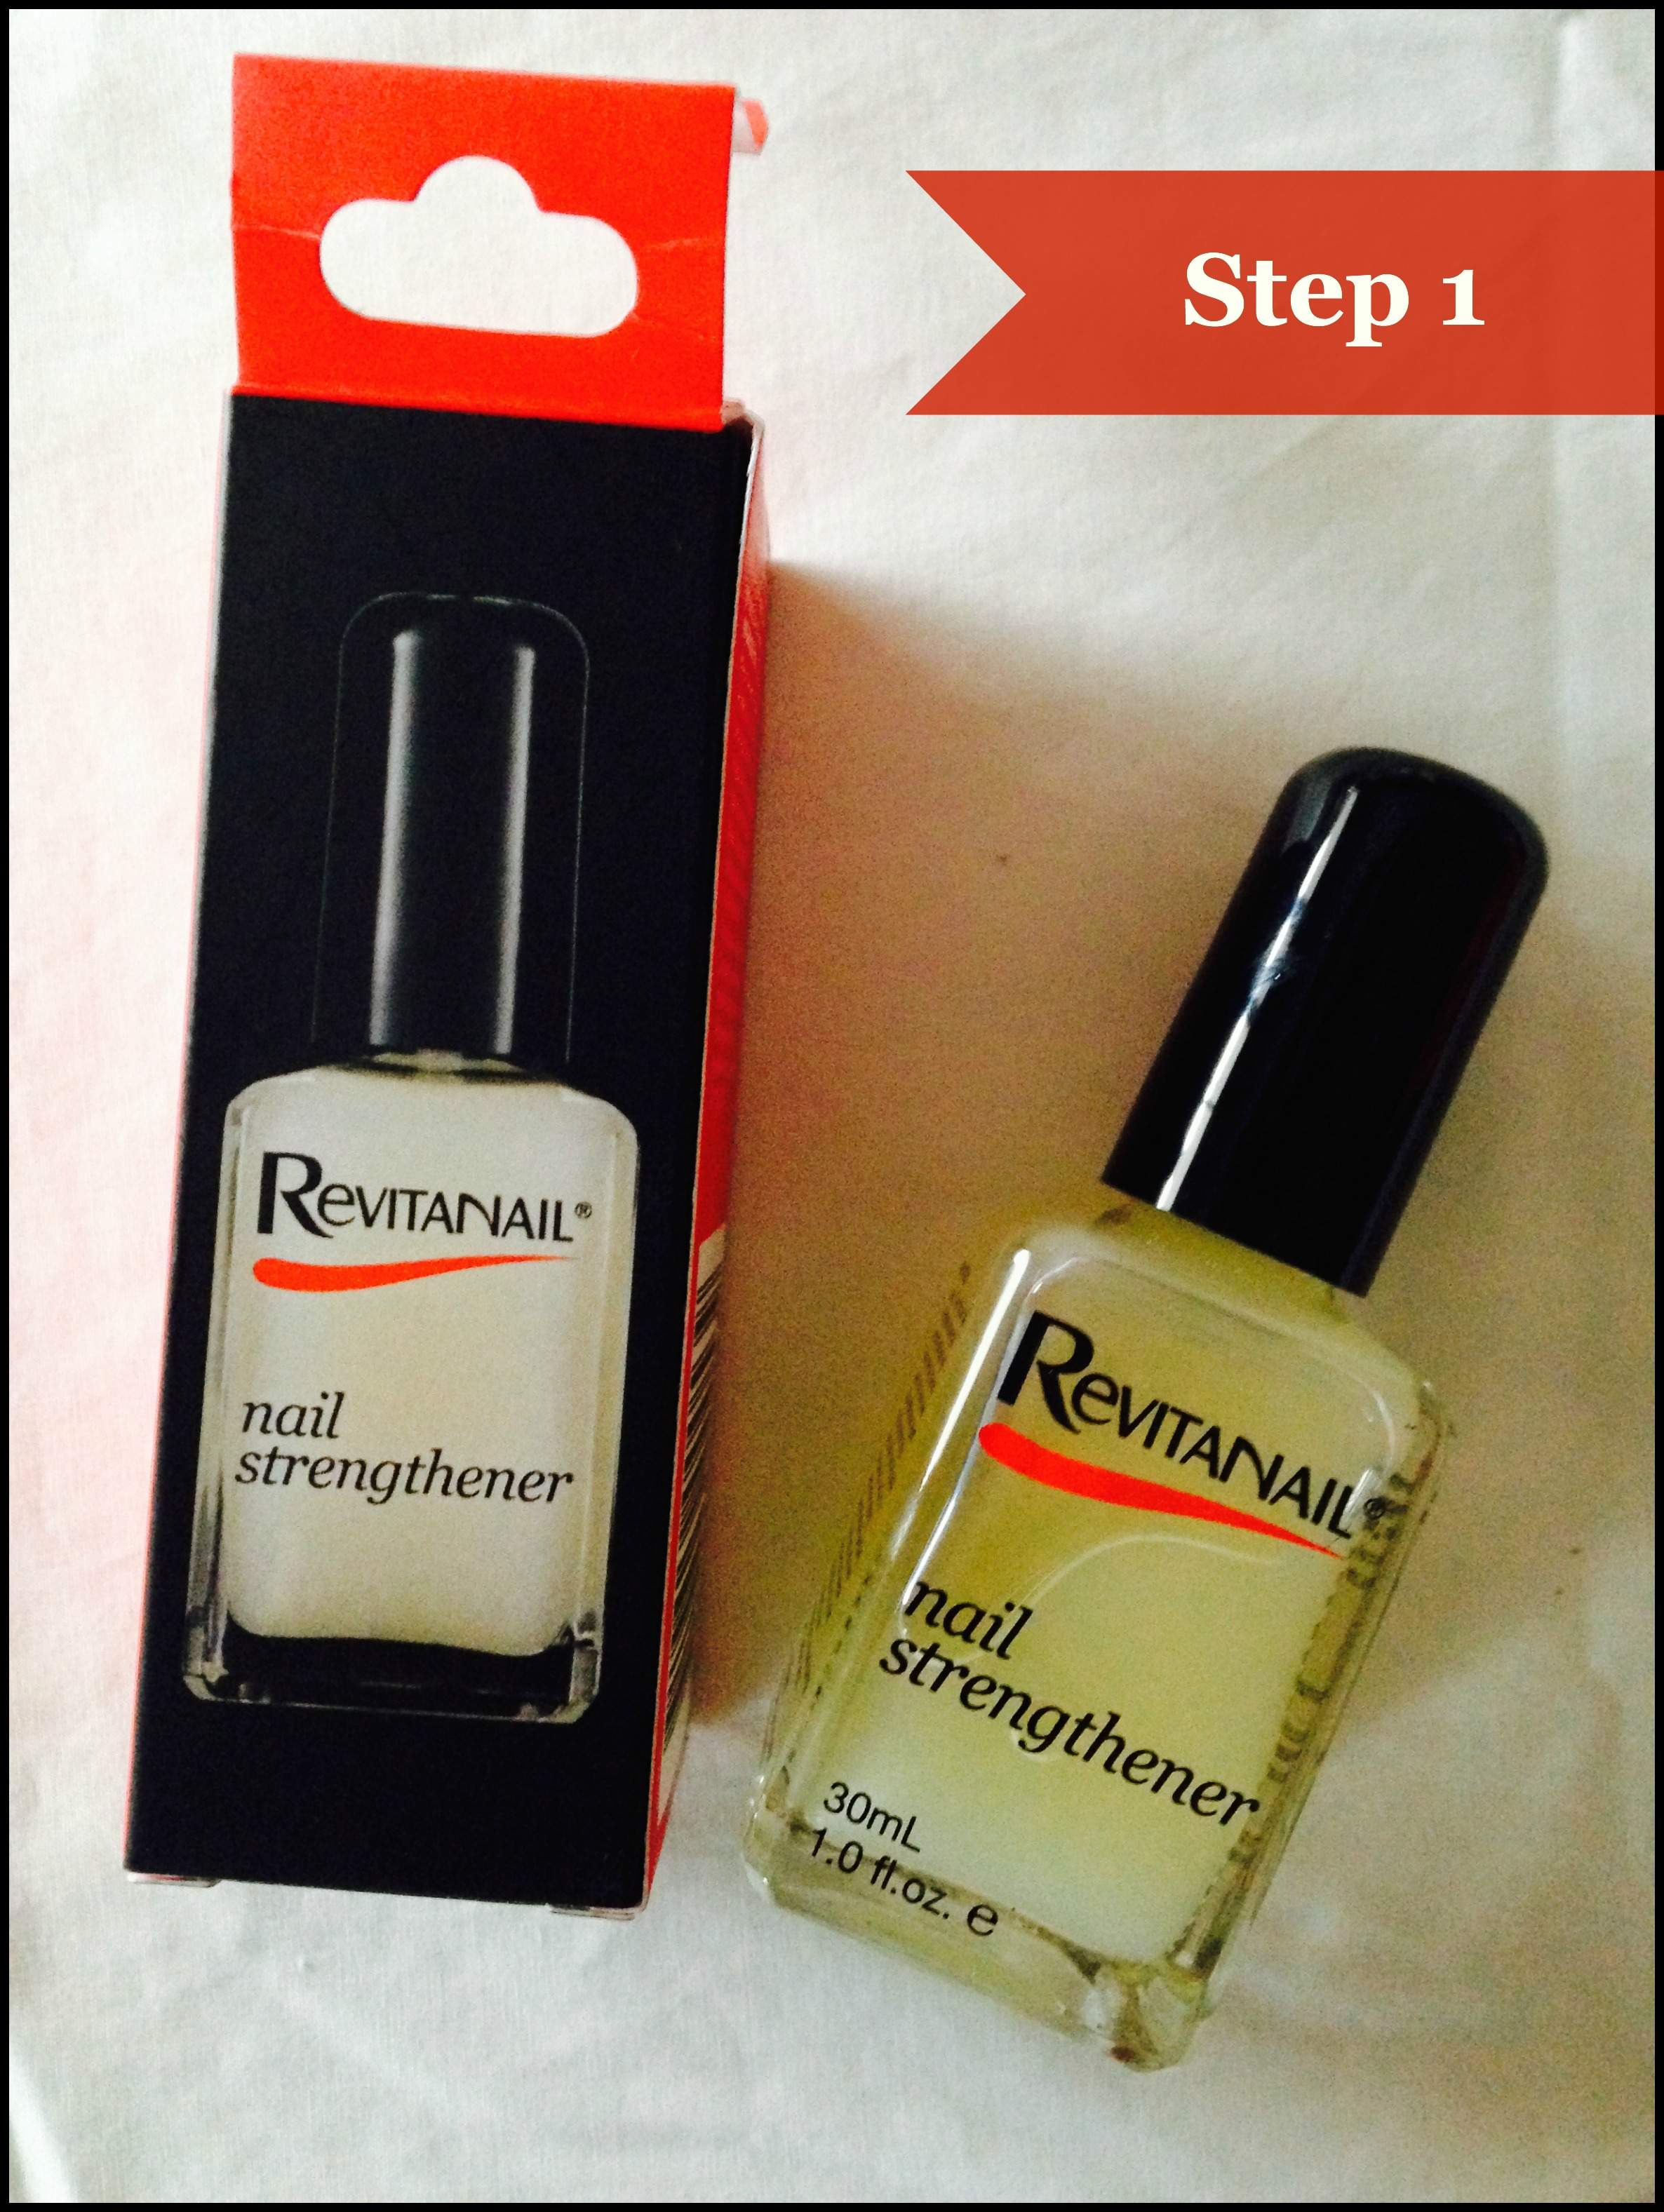
If like me, your nails are prone to breakage, the Revitanail Nail Strengthener, contains calcium, and is your first step on the road back to strong nails.
Revitanail Nail Strengthener was named the InStyle Winner 2013 ‘Best Beauty Buys’ and ‘Winner Judges Choice’ at the Australian Beauty Awards 2012, and for good reason – it really works!
Apply 2 coats of the Revitanail Nail Strengthener (avoiding the cuticle area), then 1 coat everyday for the next 5 days. On the 7th day remove with nail polish remover, and repeat the process 3 times. (Each program lasts for 28 days, and you must allow your nails to rest for 1-2 weeks before repeating the program).
And…that’s it! You’ll be the proud owner of lovely strong nails again before you know it!
Revitanail also have a Nourishing Oil that contains essential oils and Vitamin A & E to moisturise and nourish your cuticles and nails, which is fantastic for using at this stage of restoring health to your nails. It only takes 1 minute to massage into the nail and cuticle, and should be used after the Revitanail Nail Strengthener and during the rest period.
Step Two
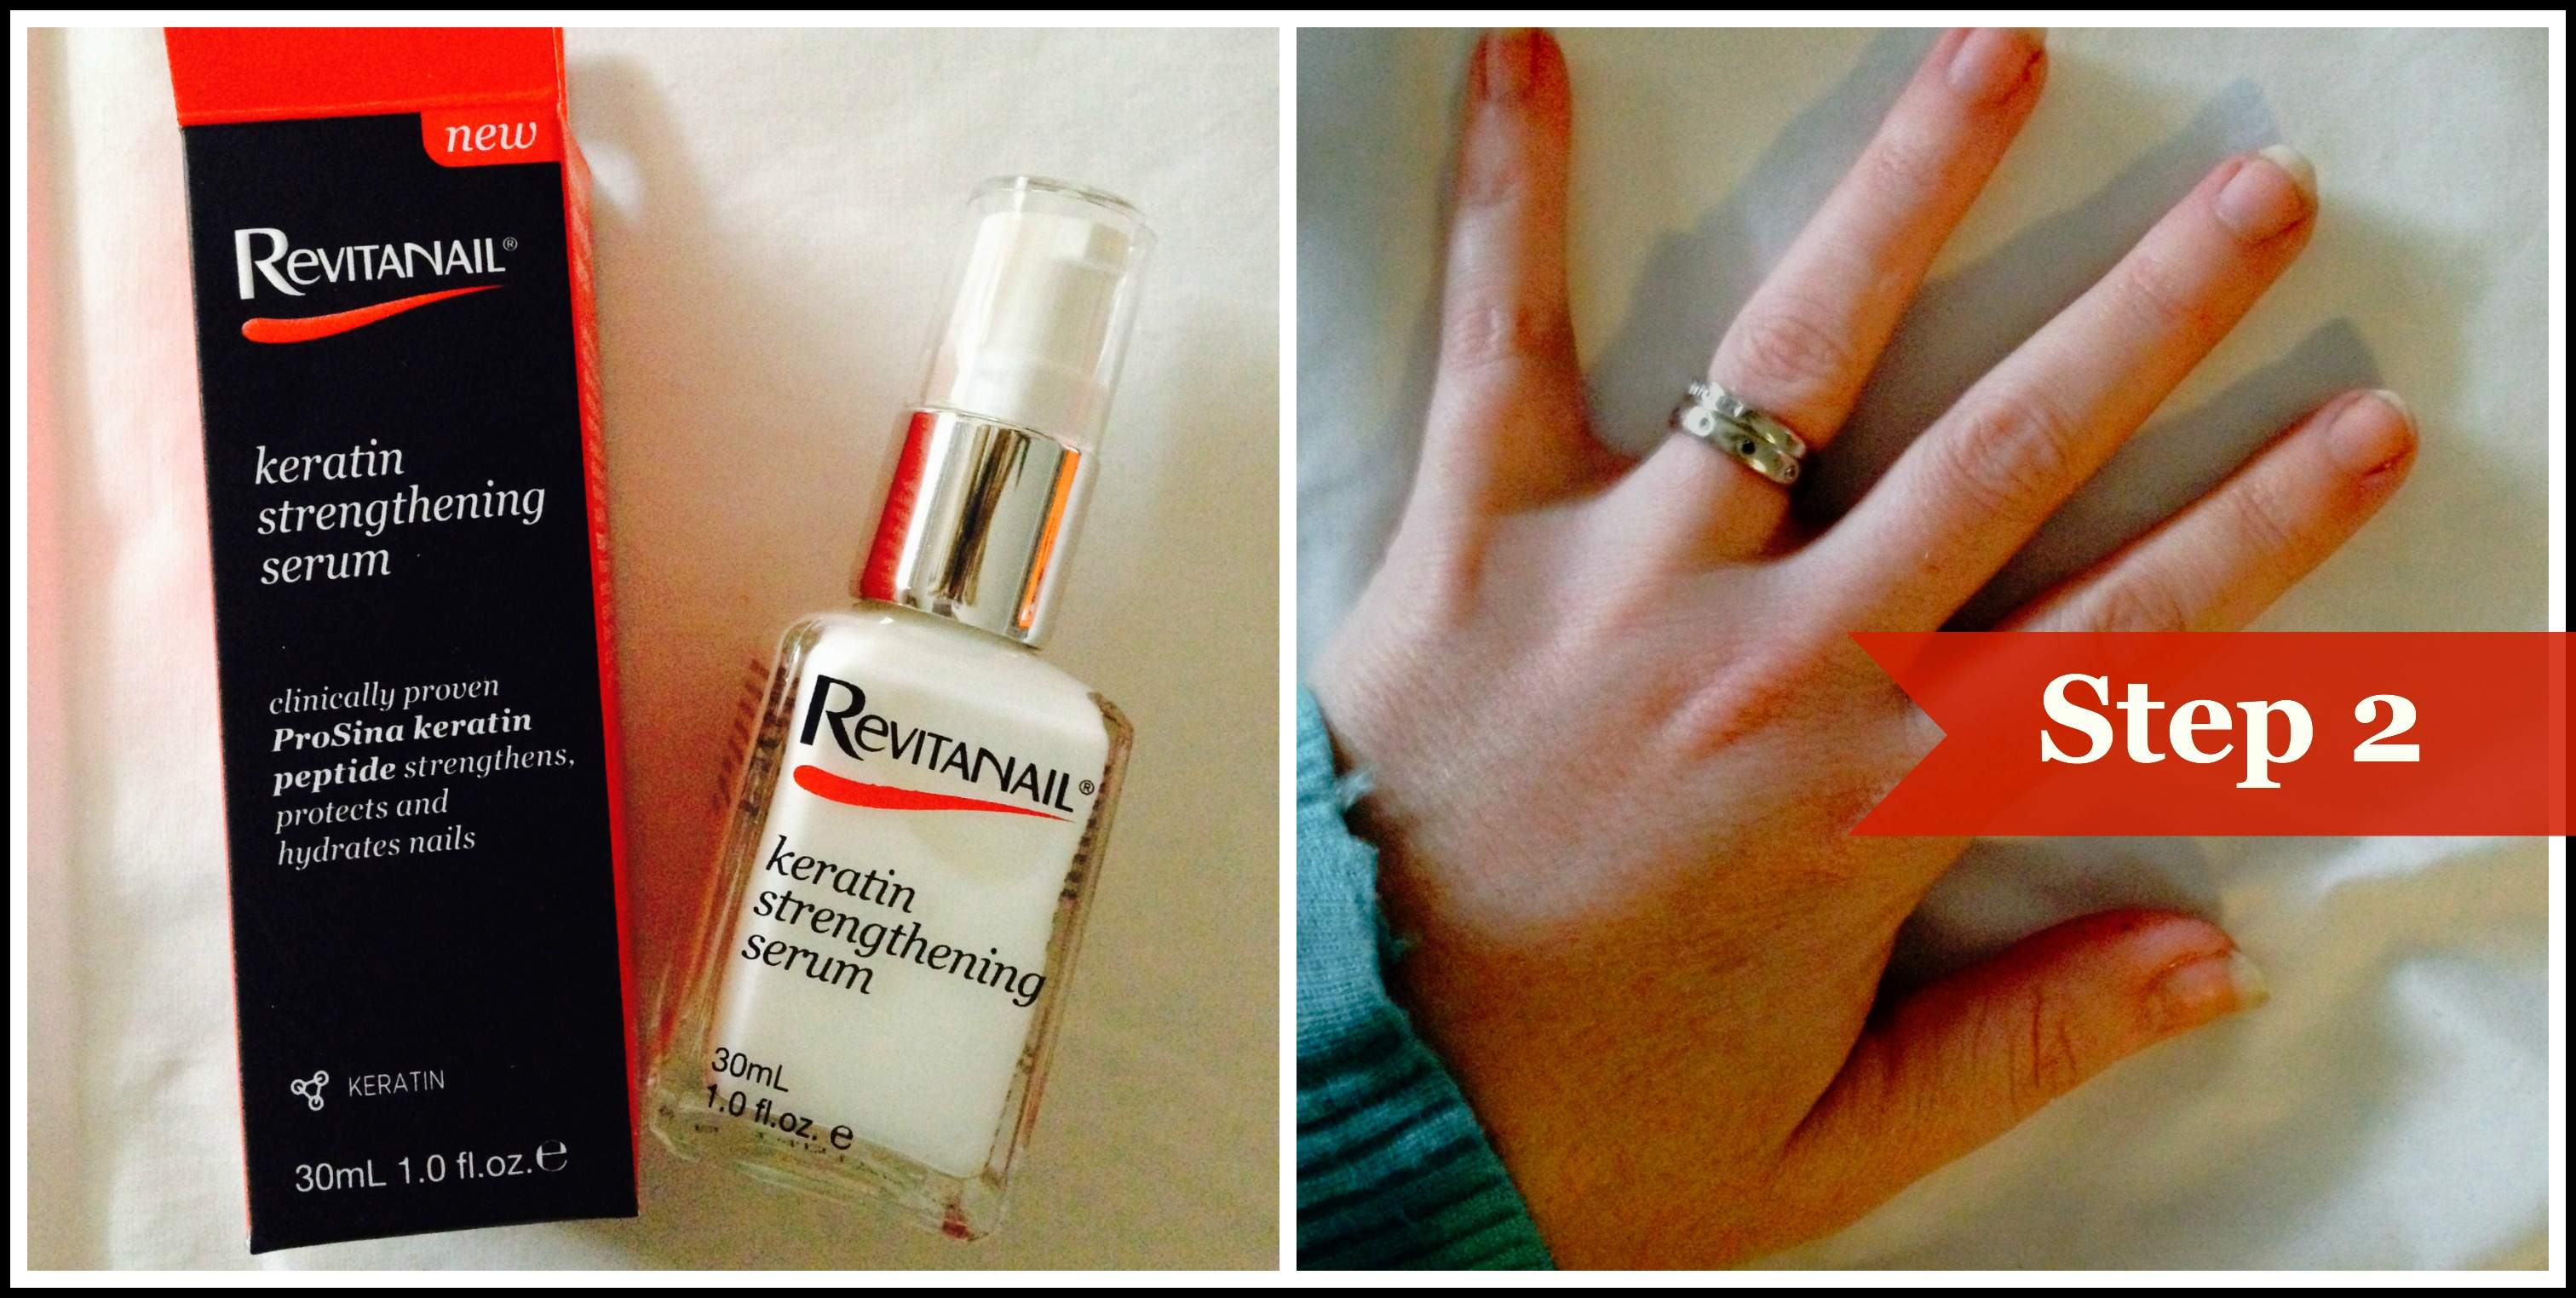
I really love the Revitanail Keratin Strengthening Serum, and the way it makes my nails feel after I have applied it. (Yes, I know, this from a woman who only recently started using serum in her skin care routine! I don’t know who I am anymore either…but don’t dismiss the serum as something fancy-shmancy like I almost did. It contains ProSina Keratin Peptide which is clinically proven to strengthen, protect and hydrate nails by penetrating and repairing the nail plate.
I also find that it makes a good base coat for my nail polish as it is water based, so I generally skip the base coat stage after using the serum, and go straight to the nail polish.
It is also worth noting that the Revitanail Keratin Strengthening Serum can be used before or after your nail polish, and as often as you like. I’ve tried to make it a habit use it daily after my morning shower.
Step Three
As I mentioned previously, I don’t tend to have a lot of luck keeping my nail polish chip-free. (Possibly something to do with hammering my fingers away on a keyboard for a large percentage of each day.) So I tend to wear pale, natural-looking nail polish so that peeling or chipped nail polish won’t be as noticeable.
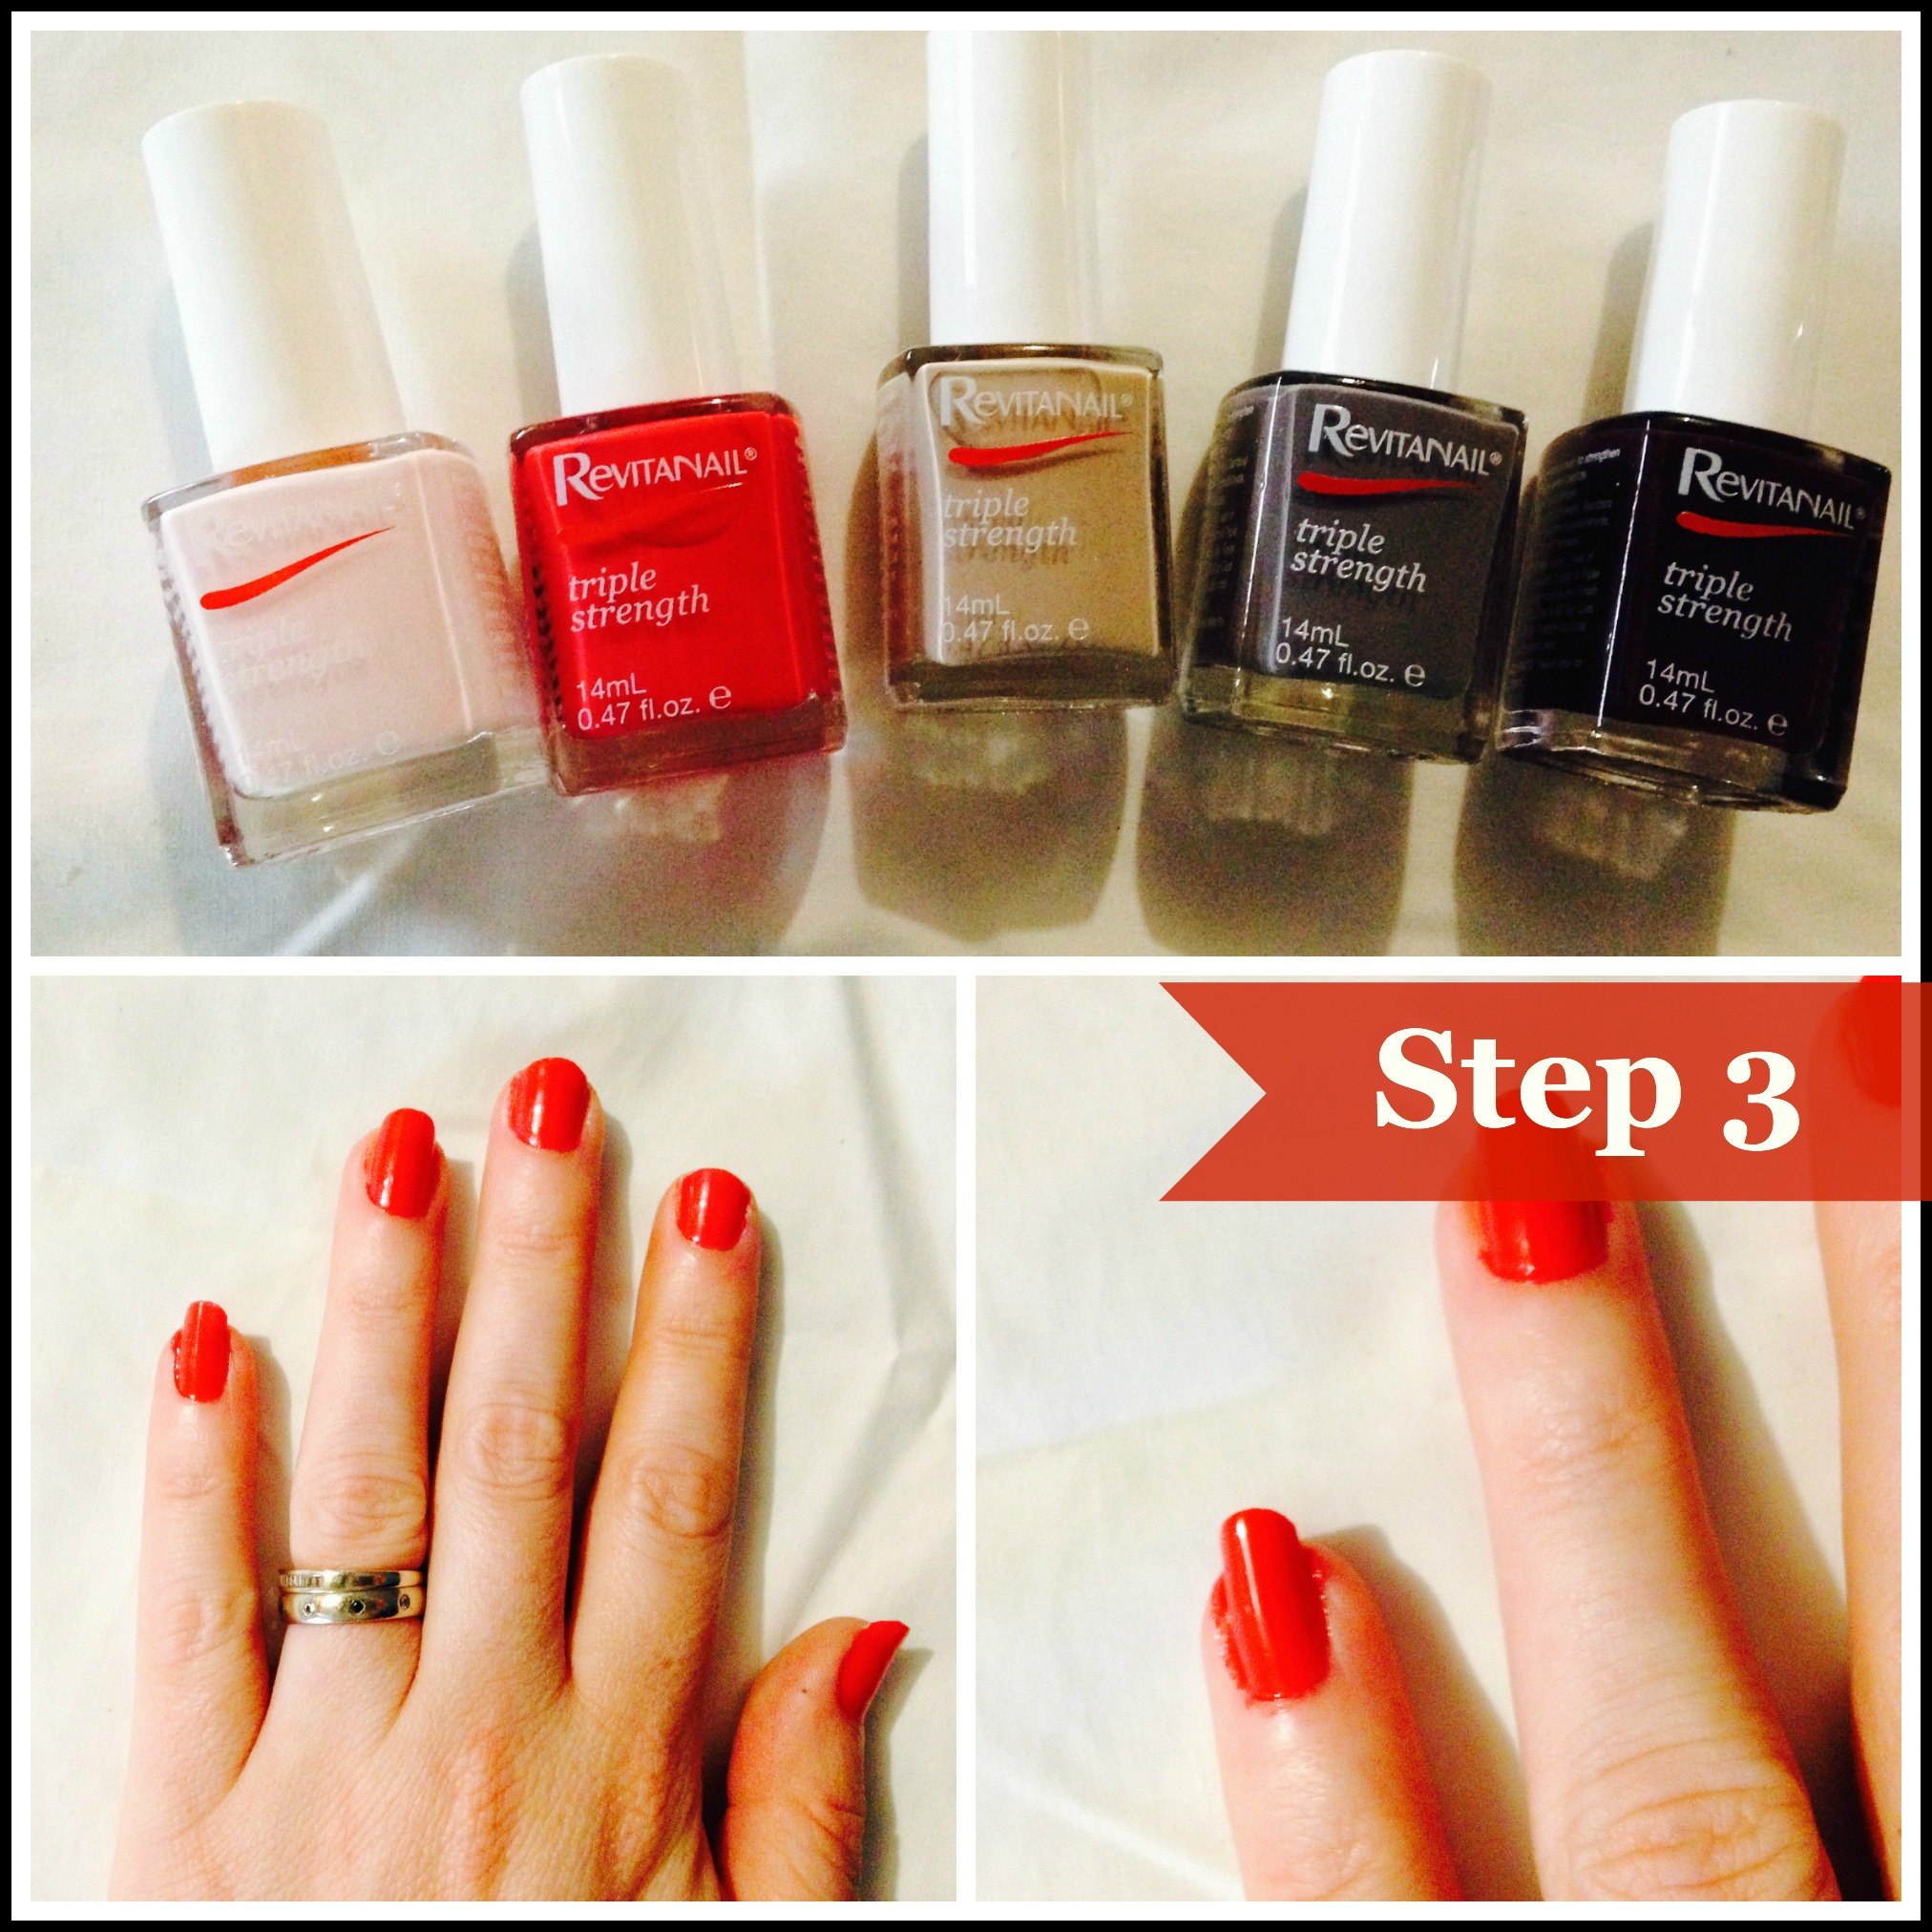
The Revitanail Triple Strength Nail polish comes in five shades, Marshmallow, Pomegranate, Cashmere, Graphite and Black Plum, and contains the ultimate strengthening trio of ProSina Keratin Peptide, Calcium and Bamboo.
Sick of the same old natural hues, I chose the Pomegranate and applied 2 coats (letting it dry between coats). It’s so nice to wear a lovely bright, striking colour and know that it is also strengthening my nails at the same time! But, as you can see, there is one problem. Lovely bright colours also make it very easy to see where you made a mess applying the polish!
Step Four
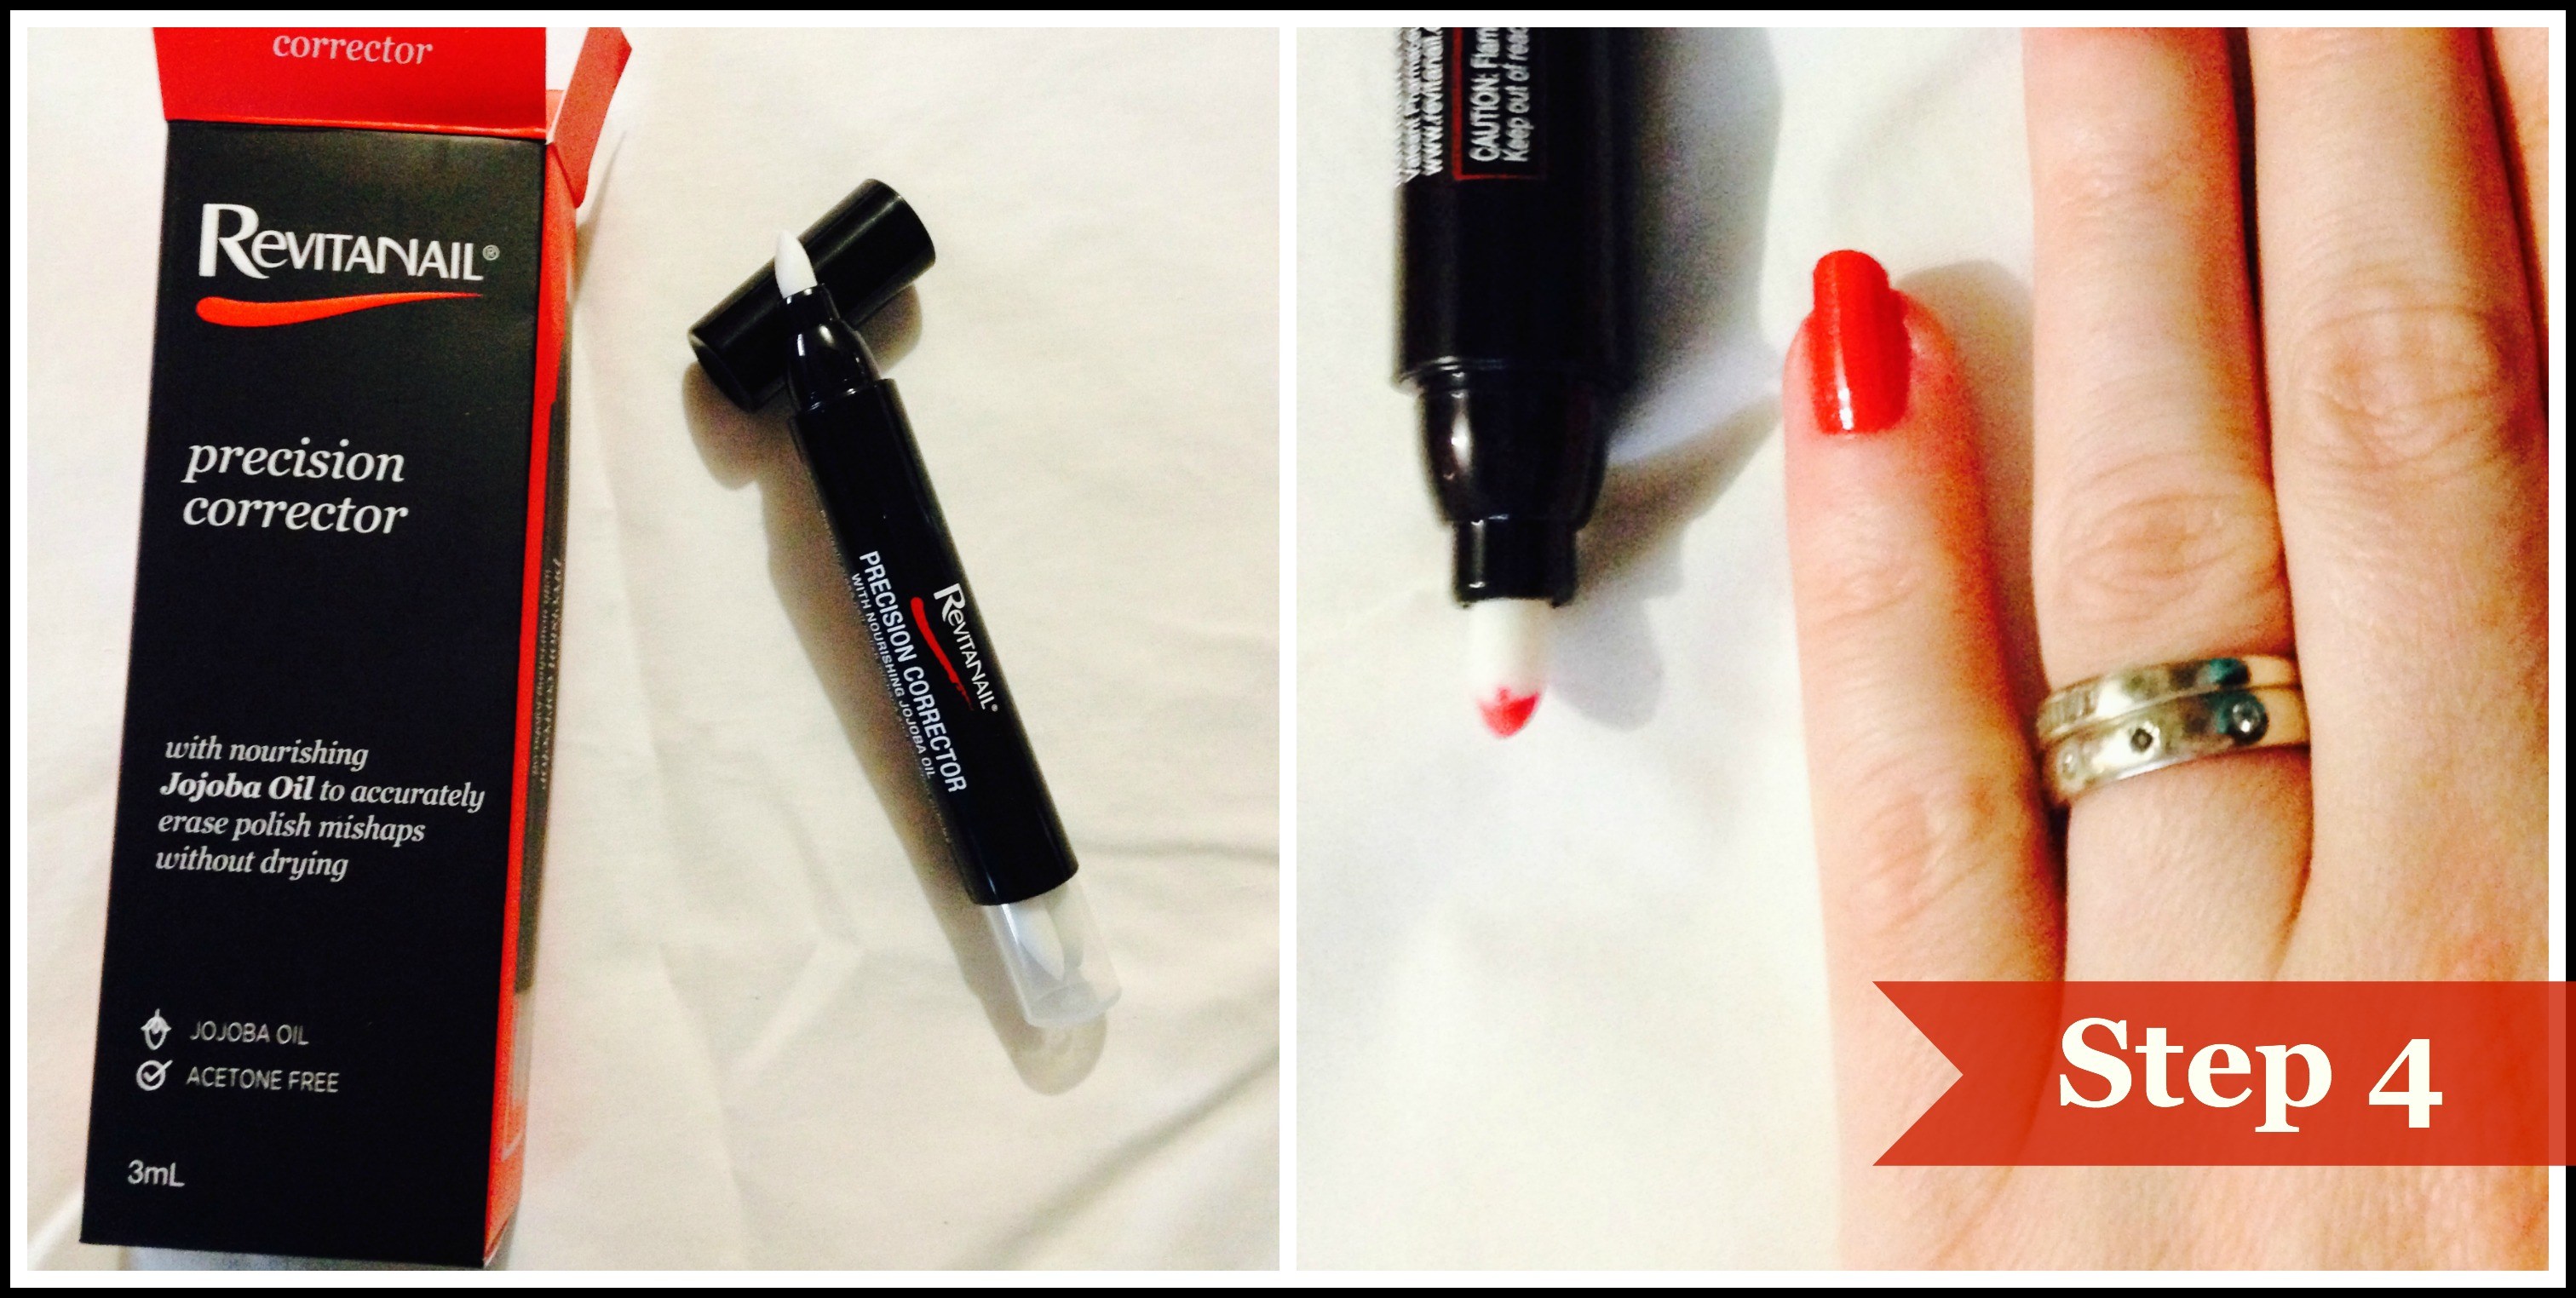
The Revitanail Precision Corrector really is a must have (especially, if you are prone to getting nail polish on your skin as well as your nails, like me!) I’d like to say that I let my four year old paint my nails, but sadly, she would probably do a neater job than I have managed here!
Use the tip to remove excess nail polish and neaten the nail edges during or after nail polish application for a perfect paint job!
I seriously love this product!
Step Five
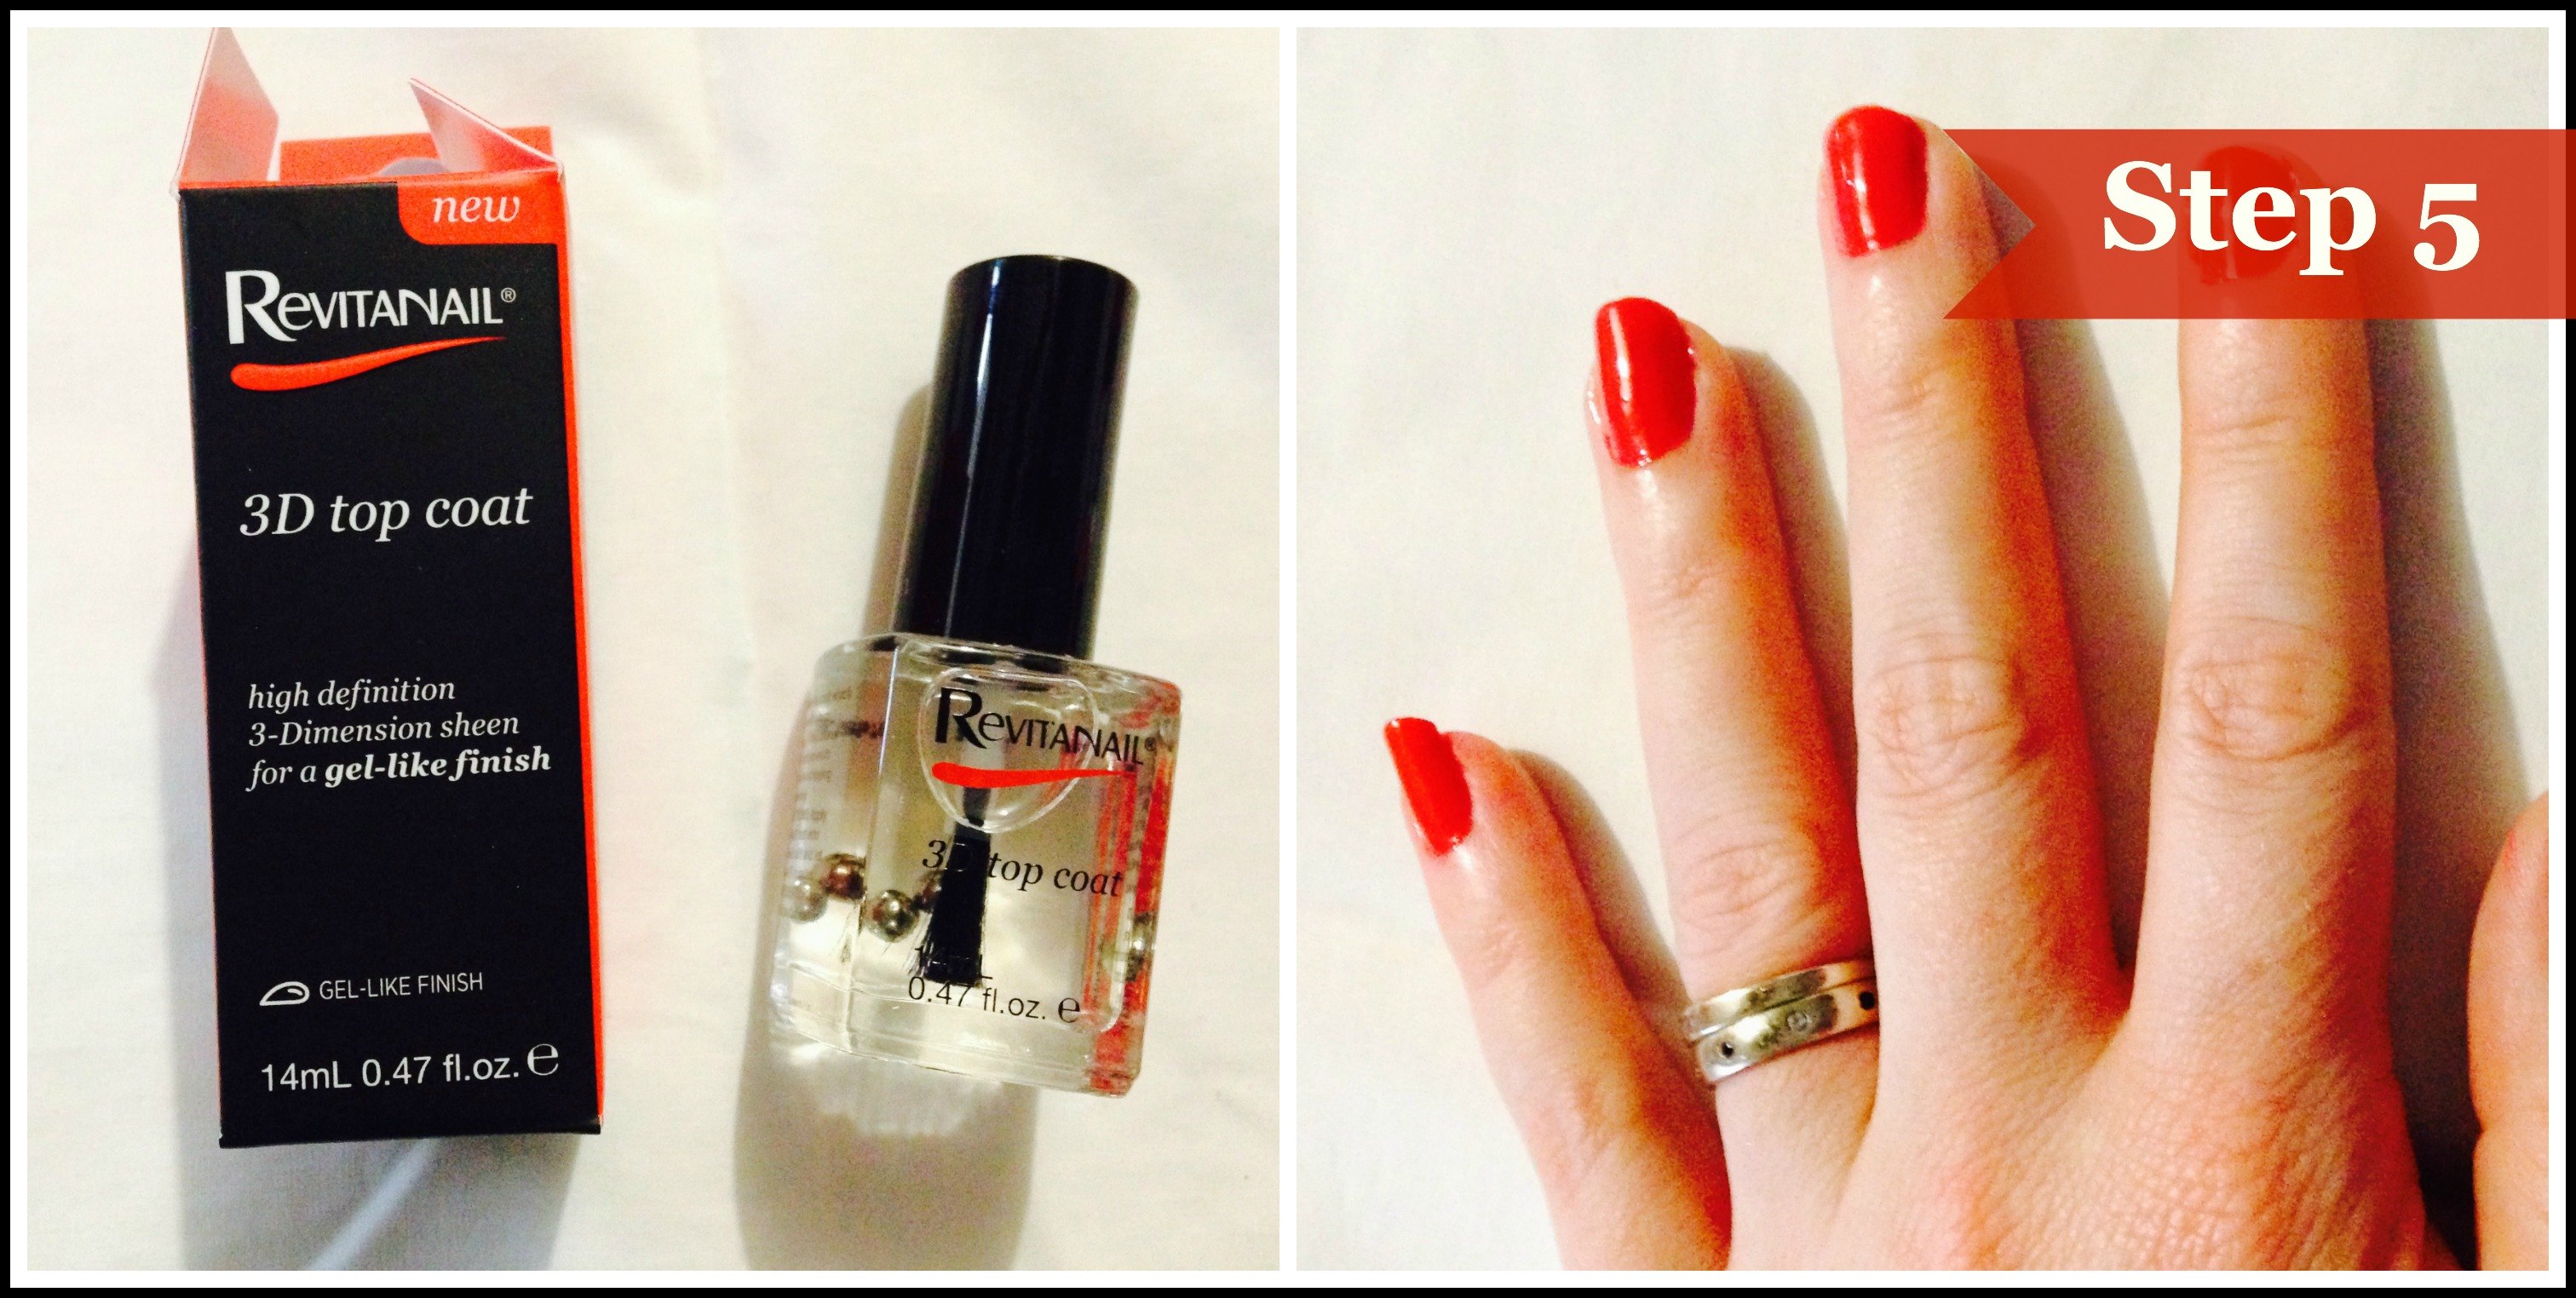
Between the Top Coat and the 3D Top Coat that Revitanail sent to me, the 3D one is my favourite. It gives the nails a lovely high gloss gel-like appearance, which you’d usually only get at a salon. I reapply this top coat every 2-3 days to maintain and protect my colour, chip free!
TIP: For those of you, like me, who tend to be a little impatient waiting for nails to dry – Revitanail Instant Dry Drops, as the name suggests, dry your nails in seconds and help protect from smudges and scratches!
Step Six
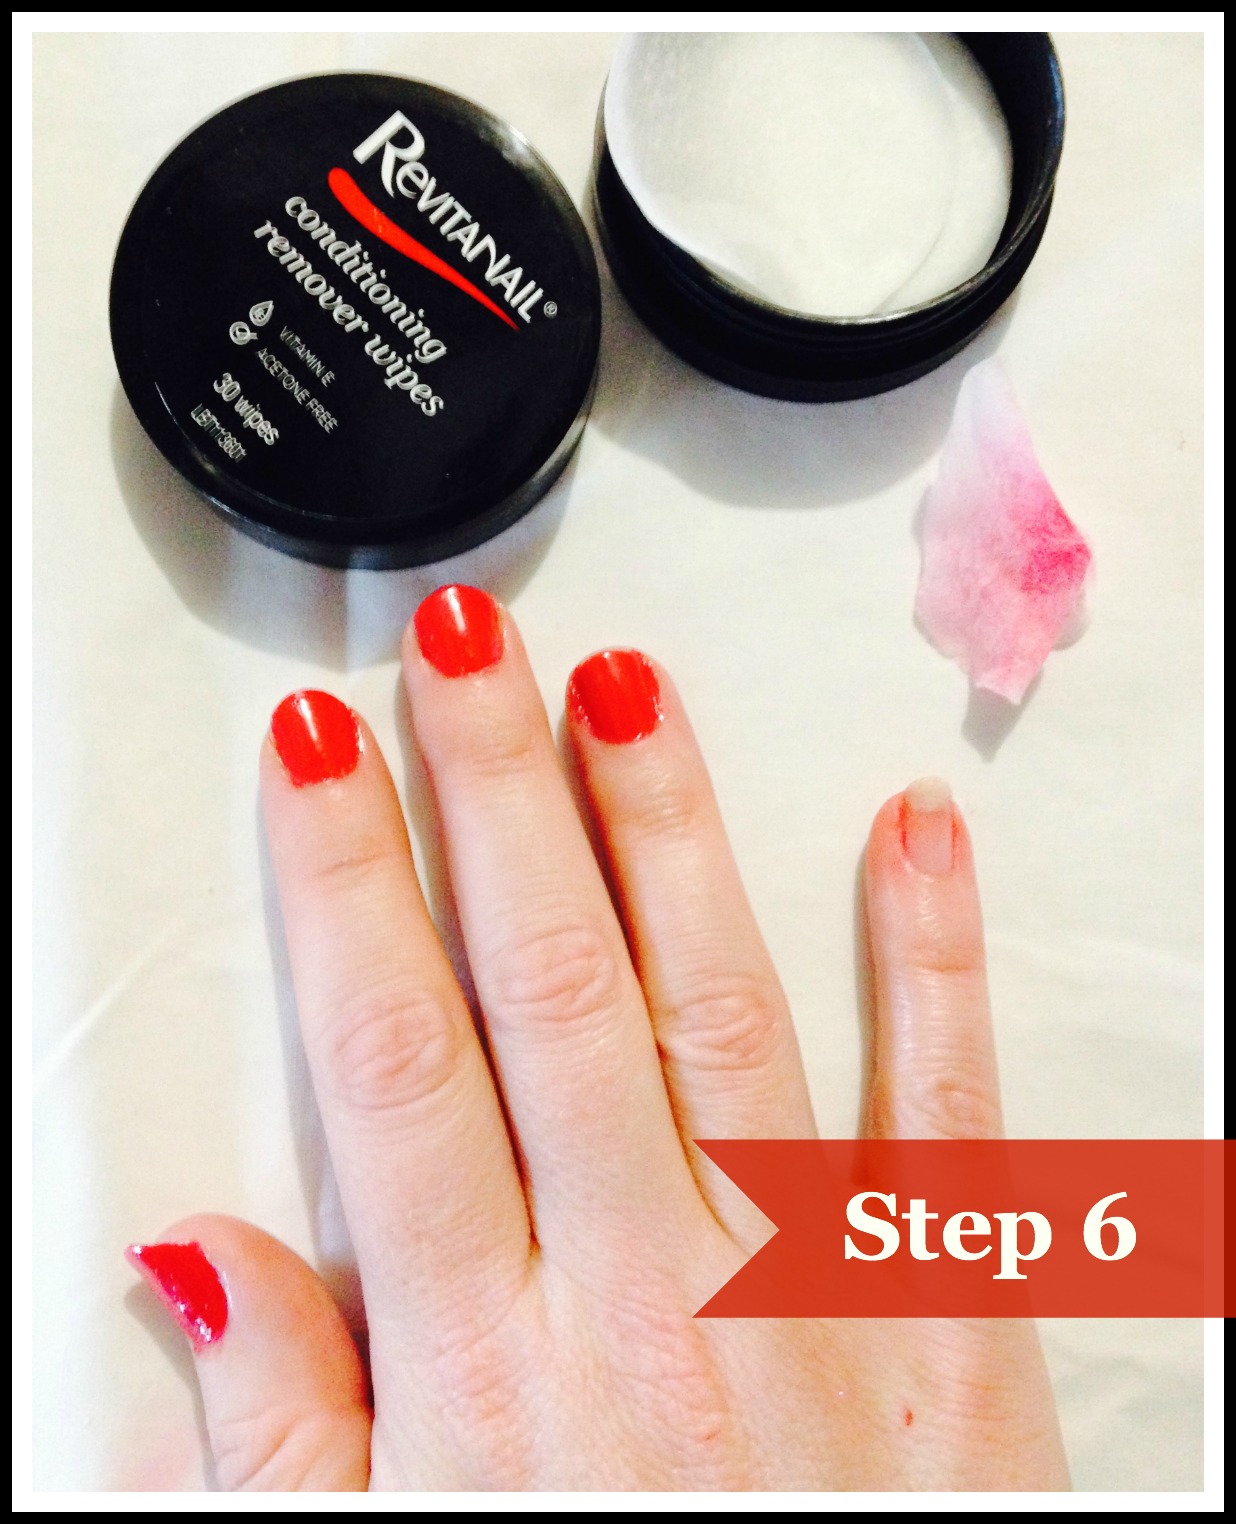
Lastly, the Revitanail Conditioning Remover Wipes are perfect for carrying around in my handbag, and I don’t have to worry about keeping a bottle of attractive looking pink-remover out of the reach of children.
Darker, red toned colours can often be quite difficult to take off, with some removers leaving a pink-stained look on the nails. But as you can see the wipes removed all sign of nail polish, quickly and mess free.
So, there you have it – A simple 6 step, no-fuss routine for taking care of your nails, that even the busiest of Mums will have time for!
Head over to the Revitanail Facebook page to find out about some great upcoming promotions and receive some more expert tips and advice. For stockist details contact 1800 651 146.


