10 Steps for the Perfect At-Home Manicure
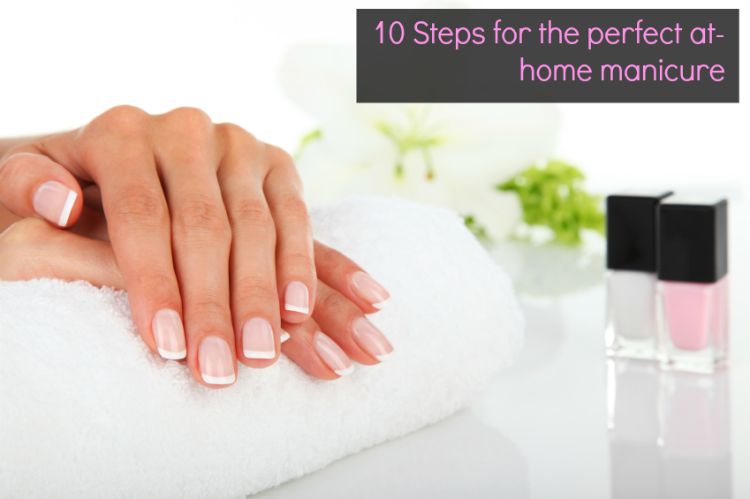
When you become a mum, some beauty routines fall by the wayside due to tight budgets and lack of time. It’s important to have some time out as a mum, so if you can afford to go and get your nails done, go for it. But if you can’t we’ve put together a list of 10 steps for the perfect at-home manicure so your hands and nails don’t feel abandoned in this busy season of life.
1. Remove old nail polish. There are many types of nail polish removers on the market. Make sure you choose acetone free. Avoid spills by putting the lid on the bottle after it’s been applied to your applicator or tissue. Alternatively use make up remover wipes which will avoid mess altogether. Wash your hands after use.

2. Nail Maintenance. Clip, shape and buff your nails. Always file in the one direction and don’t use an emery board to buff nails. Use a nail buffer.

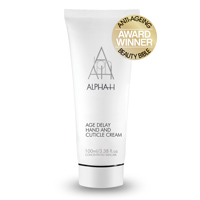
3. Push back cuticles. Apply an oil or cuticle cream to soften cuticles and use a cuticle stick to push back. Be careful not to push back the cuticles too far or split them.
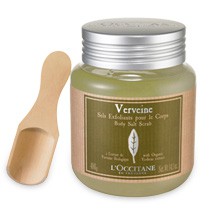
4. Exfoliate hands. Use a body cleanser or add some raw sugar to a creamy cleanser and wash your hands and forearms thoroughly. The exfoliation will remove dead skin cells and get your skin ready for the next stage.
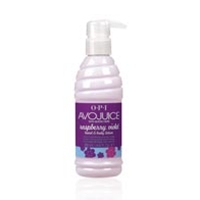
5. Rub in a hand moisturizer. Once the moisturizer has soaked in, roll a golf ball between the palms of your hands for a deep massage.
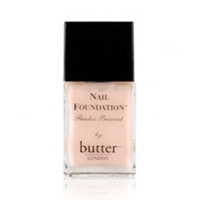
6. Apply a clear base coat of polish to your nails. Wait for 2 minutes before applying another base coat or colour of choice.
7. Apply your colour of nail polish.
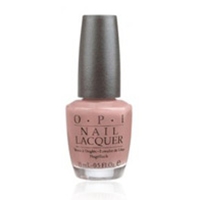
8. Apply a second coat of nail polish.
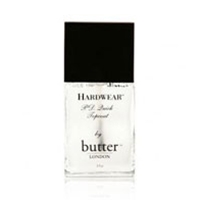
9. Apply a nail polish top coat to seal the colour and protect the polish from chipping off your nail.
10. Use a cotton wool bud dipped in nail polish remover to fix any mistakes near the cuticles. Rest your hands for 5 minutes to ensure your nail polish is completely dry.
For more nail tips, why not read Five Fun Nail Trends or Nail Art Trends for 2015.
How often do you get a manicure? Is your routine similar to the steps listed above?
Disclaimer: There are affiliate links on this post. Should you purchase a product, we will receive a small commission at no extra expense to you.


Rebecca Senyard
Rebecca Senyard is a plumber by day and stylist by night but these days she changes more nappies than washers. She is a happily married mum to three young daughters who she styles on a regular basis. Rebecca is not only an award winning plumber, she also writes an award winning blog called The Plumbette where she shares her life experiences as a plumber and mother. Rebecca also blogs at Styled by Bec believing a girl can be both practical and stylish. Links to the blogs are http://www.theplumbette.com.au and http://www.styledbybec.com.au/blog