How to Take a Photo of Your Child With the Tooth Fairy – In 3 Steps in Under 3 Minutes!

Does someone in your family have a wobbly tooth?
It never ceases to amaze me how excited little people get at the prospect of losing a tooth, because of course a lost tooth can mean only one thing – a visit from the tooth fairy!
Besides Christmas Eve, it is the only time that my kids have willingly put themselves to bed early, just so that the morning can come quicker, so they can check beneath their pillow to see what the tooth fairy has left them in exchange for that tiny white tooth.
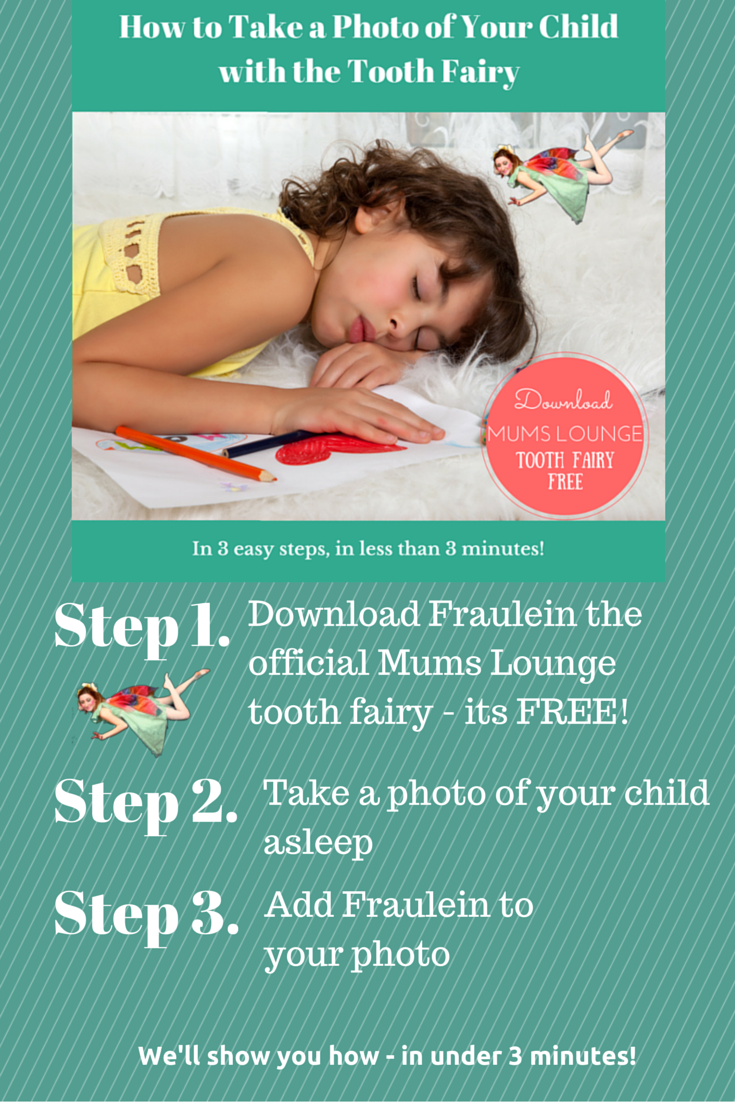
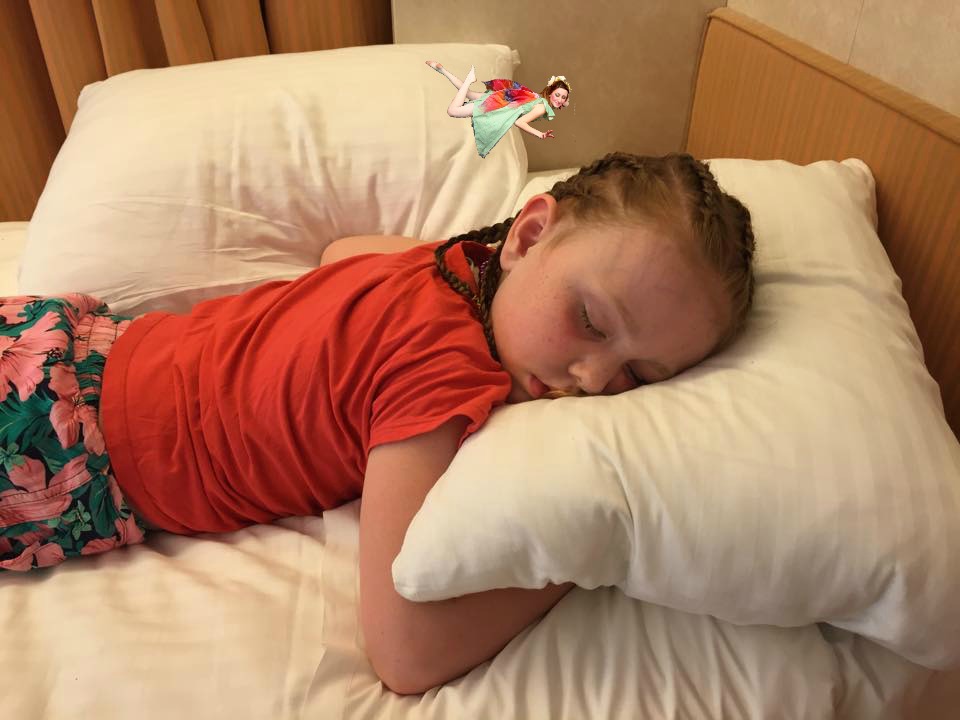
So what if I told you, that there is a way for you to take a photo of the tooth fairy visiting your child? Not only that, but it’s super-simple, and will probably take you less time than it takes to scramble in your purse for those loose coins before bed. In fact I have done all the hard work for you, all you have to do is download the Mums Lounge tooth fairy, and then follow these easy steps.
Oh but first you’ll need to take a photo of your child sleeping.
I’ll wait here while you do that!
Oh you’re back..that was quick! let’s get on with it!
How to Take a Photo of Your Child with the Tooth Fairy
Okay – now you’ll need to download Fraulein the Mums Lounge Tooth Fairy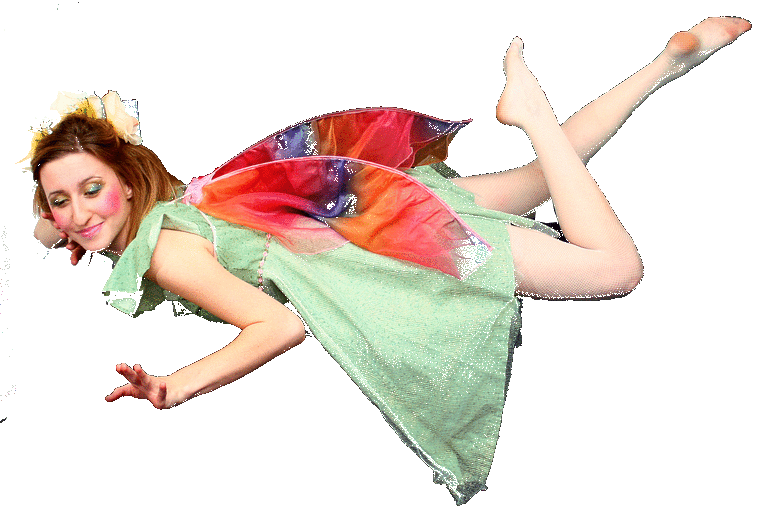
You can do that by clicking here
Now all you need to do is right click the mouse and save the image or if you are using a Mac you can go to File > Save as> to do the same job.
She is a bit special – but I’ll tell you more about her later. Let’s just get on with making this photo, so you can get to bed, right?
Step One
You will need a photo editing program.
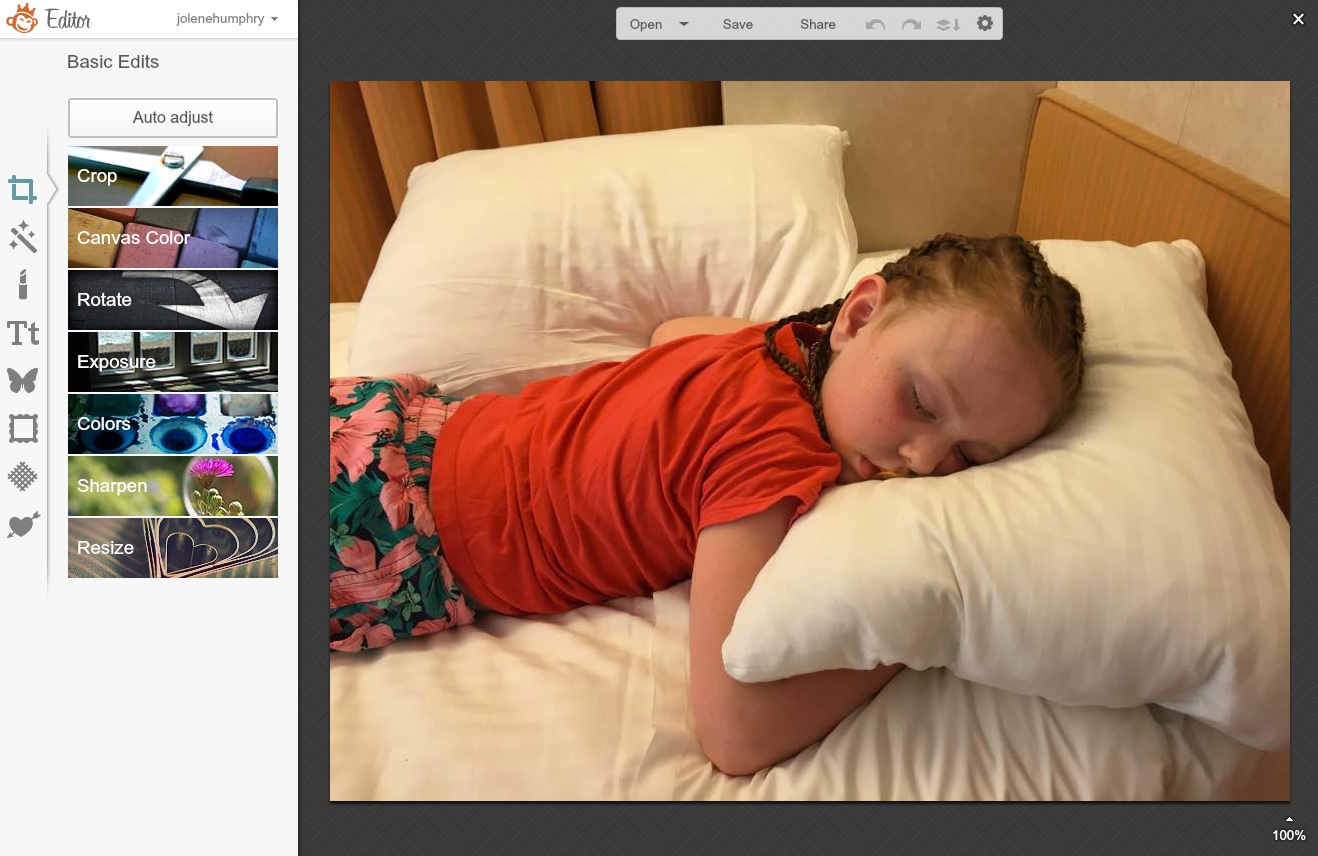
I use picmonkey – it is free to use and absolutely fabulous – and you don’t even need to register to use it. www.picmonkey.com
Now you will need to edit your photo – to do this click on the edit icon at the top of the page, and upload the photo you have just taken of your child.
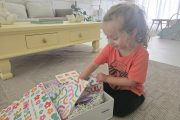
I’m using one a friend has lent me (with permission) of her daughter sleeping on their recent cruise trip…where she lost a tooth.
Step Two
Next we need to overlay the Mums Lounge Tooth Fairy onto the image – don’t worry. It’s much easier than it sounds.
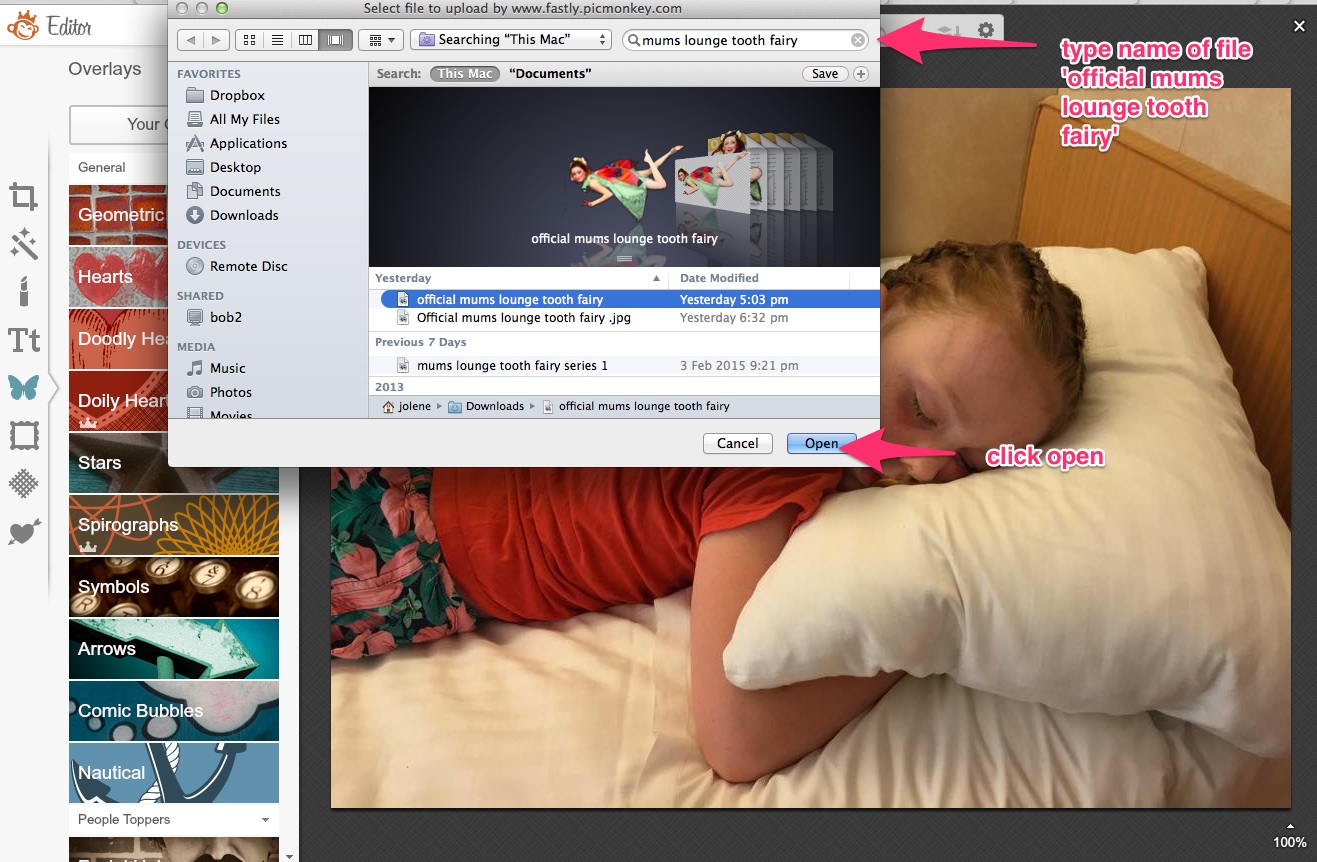
See that butterfly shaped icon down the left hand side of the screen?
Click that to see the overlays menu.
Now click the top box in the menu that says ‘Your Own”
A drop down menu will appear that will allow you to upload the Mums Lounge tooth fairy image from your computer.
Select the file ‘official mums lounge tooth fairy.png’ and open.
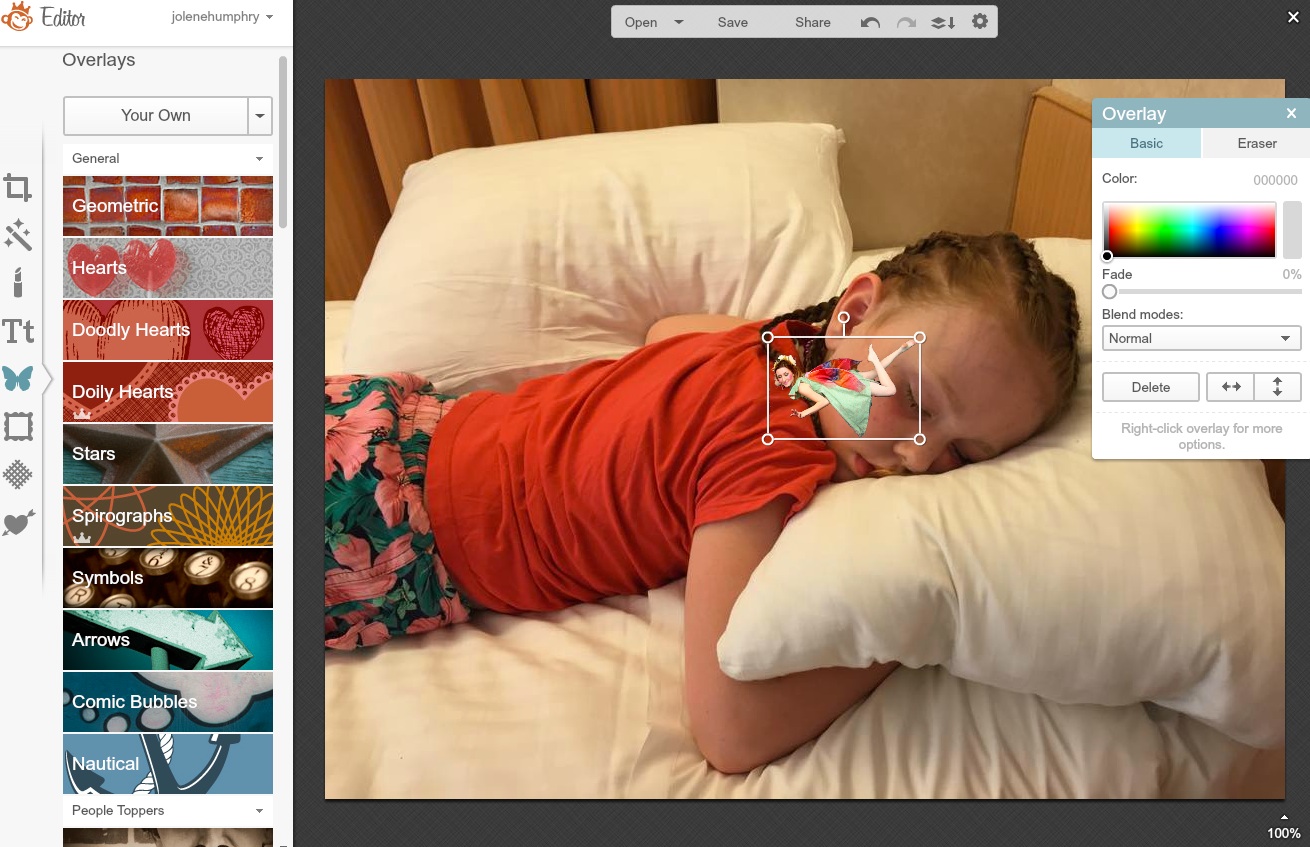
And voila – she will appear on your image.
Step 3
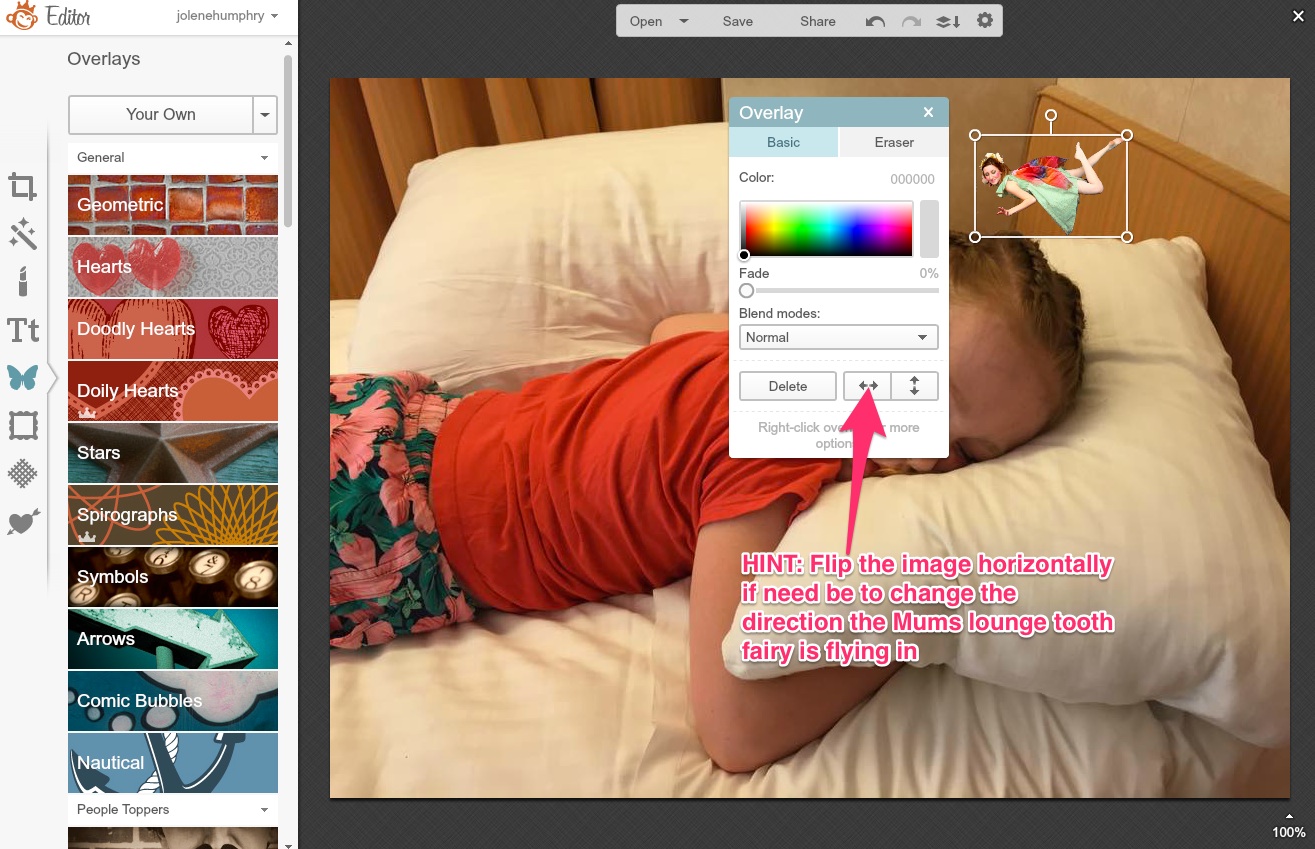
Now all that is left is to position Fraulein where you’d like her. To do this click on her so that a white box appears around her, and simply drag and drop her. You can also play around and make her larger or smaller, or even change the direction she is flying to suit your photo too.
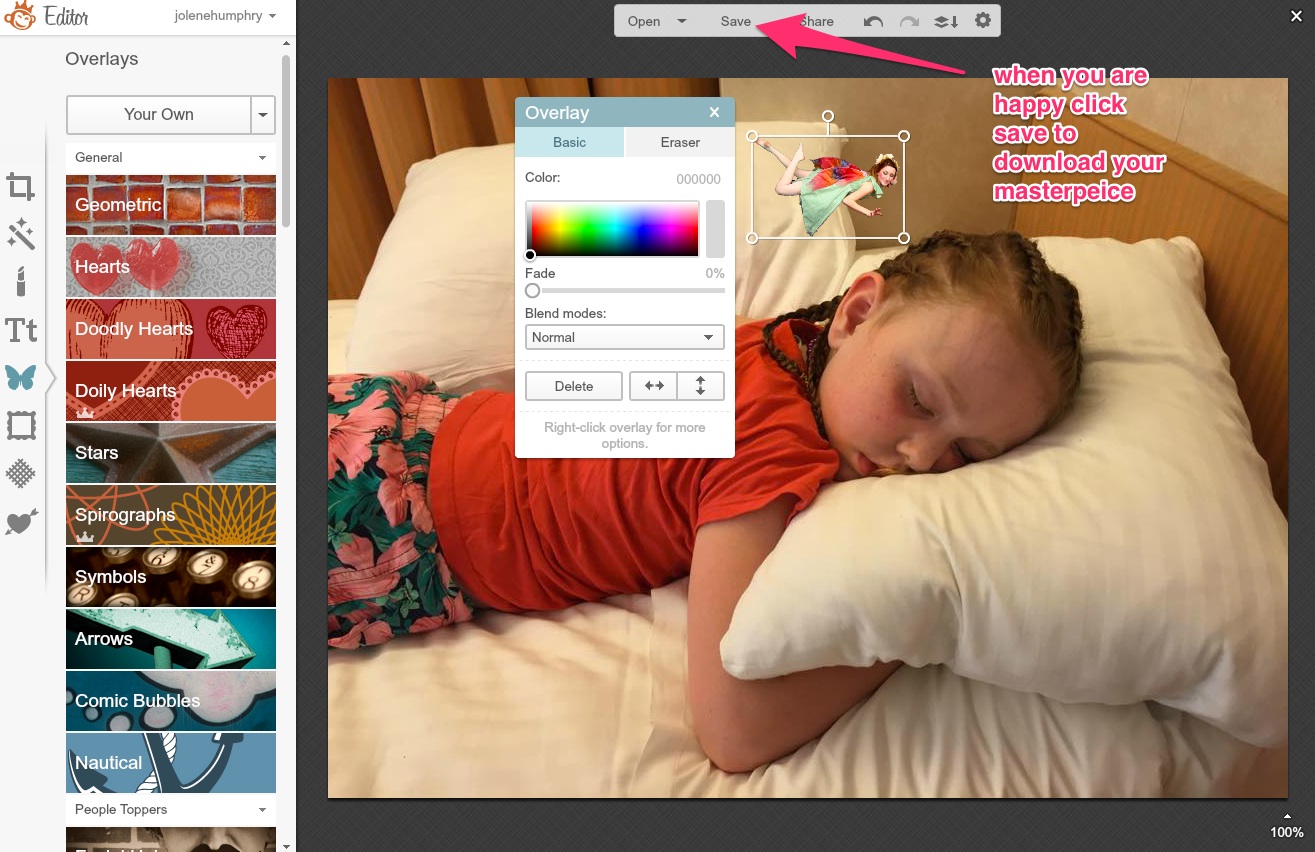
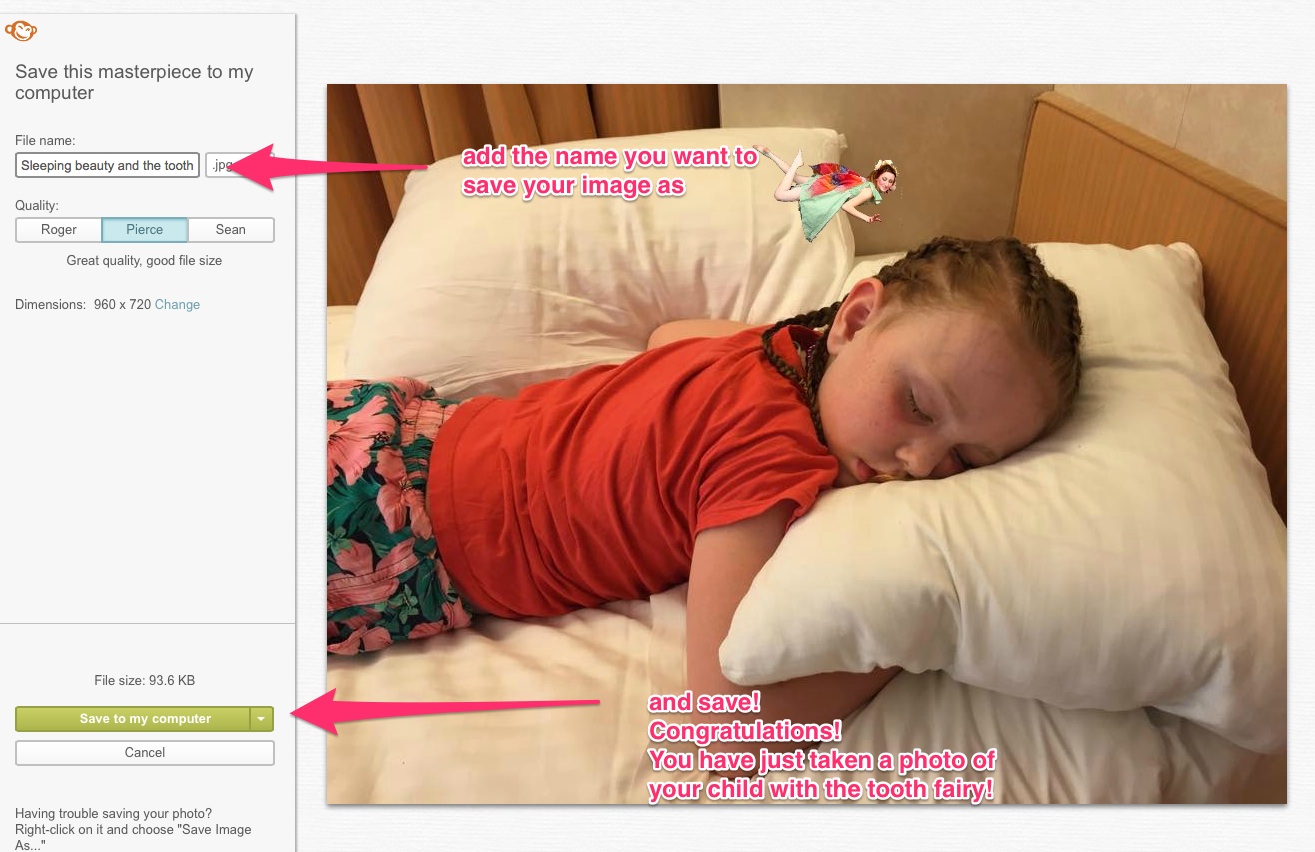
Happy? All we need to do now is SAVE it, and we’re done!
A note about our fairy:
I found the image Fraulein on the Deviantart website and I knew instantly that she was perfect! She is the work of talented photographer Della, and gorgeous model Larissa – who very generously agreed to allow me to use their image, not only for my own personal project – but also to share with my readers – so that we might all share in the magic of childhood with our children.
However Della and her family of 5 have recently endured unexpected financial hardship, after her husband suffered a car accident and lost his job, and subsequently their home. The details of which are here.
Fraulein the Mums Lounge fairy is free to download – however, we would be grateful if you would consider making a small donation to Della’s fund if it is within your means to do so as way of a thanks.
Feel free to share your photos of Fraulein with your child on our Facebook page – we’d love to see how busy she has been spreading the magic!
